Hi friends!
I’m so excited to be Guest Designing for Papertrey Ink’s April new release!!! The products in this release are perfect for the men in our lives as Father’s Day nears, or just to send someone love and well wishes. I’m sharing 2 cards today – one feminine and one masculine – using several of the PTI products in each card. I want you to see how easily it is to mix and match the products together into one card! Papertrey Ink makes it easy for us to utilize all of their products in many, many ways! And stay with me until the end to learn how to enter to win a prize in our Instagram hop!
Card one is a feminine beauty that could be used for birthdays or just to send love to a dear friend. I’ve used Love to Layer: Delightful Brackets dies, Cornered: Baroque dies, Chevron stencil (horizontal and vertical), Easy Bouquet stamp, Exquisite Cover Plate, and Into the Blooms: Blossoming Beauties.
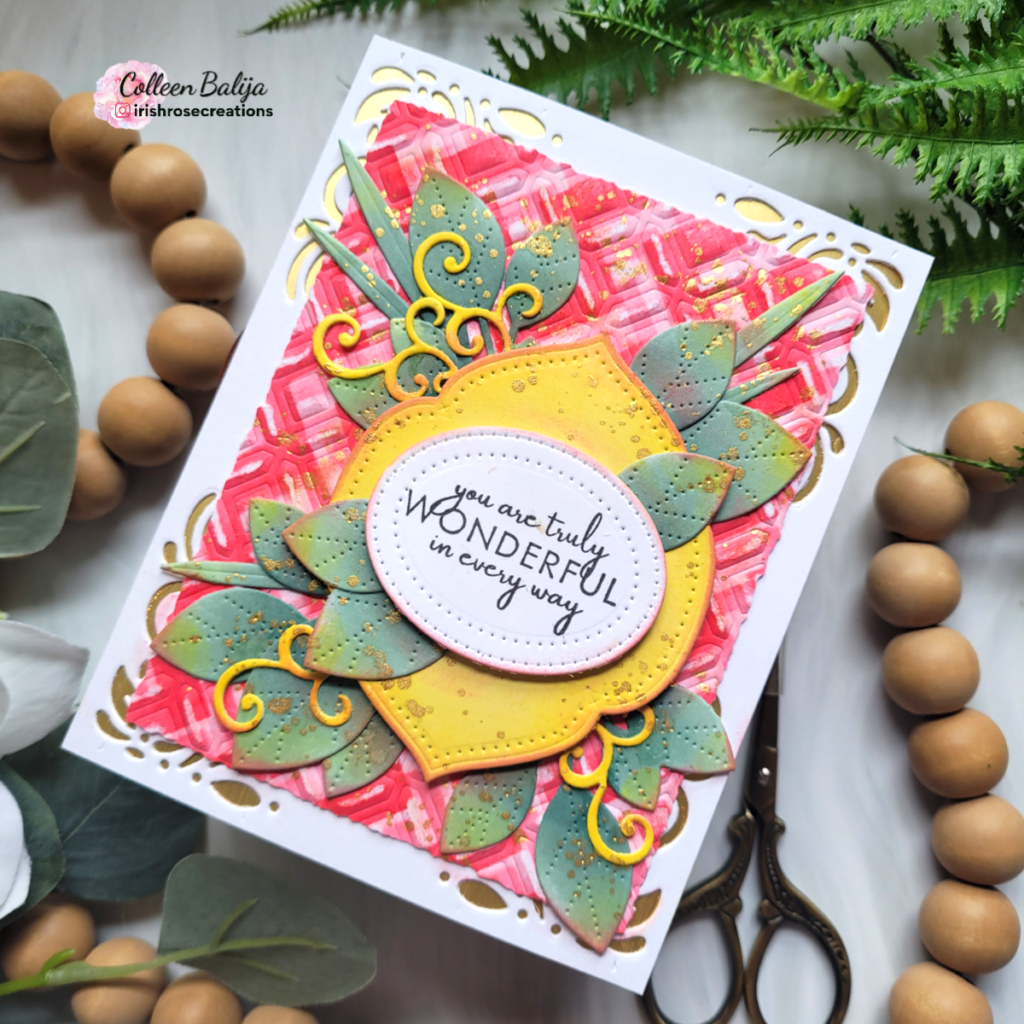
There are several layers to this card, so the first step was to coordinate the layers in my mind in order for it to look cohesive on my card! I chose a simple color palette of yellows, greens, and corals. Then I chose the background layers, the florals I wanted to use behind my sentiment, and finally the texture I wanted to add via die cutting techniques. So I’ve got texture, color, and layers ready to go!
First, I die cut the Cornered: Baroque dies in each of 4 corners on a white card panel and adhered it over a gold 5.5×4.25 card base. You can see it in the photo below! And, I set the positive pieces aside for later. Then, I created a colorful background in shades of coral using the horizontal and vertical Chevron stencils. These stencils are layered, so you can have a blast creating unique backgrounds! Next, I dry embossed over the Chevron color palette with the Exquisite Cover Plate and trimmed the panel enough so that you could see the Baroque dies behind it once adhered into place.
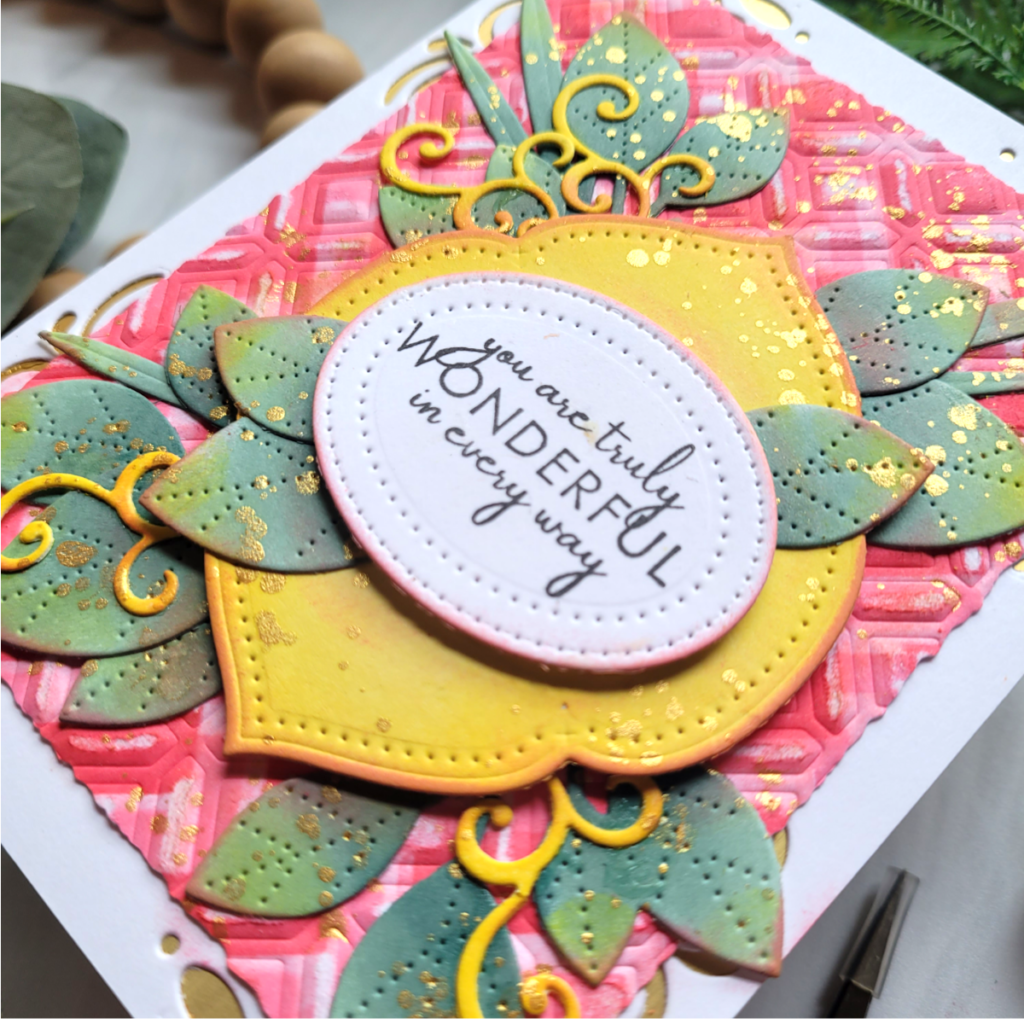
Next up was to focus on the sentiment and surrounding foliage. I stamped a sentiment from Easy Bouquet stamp set onto a white card panel and then die cut it using the smallest die from Love to Layer: Delightful Brackets. I inked the edges in a shade of coral. Then I die cut the 2nd largest die from Delightful Brackets and ink blended it in yellow, inking around the edges in coral as well. Finally, I ink blended the leaves from Into the Blooms: Blossoming Beauties, in shades of green, inking just the tips in a shade of coral. I used yellow ink on the positive pieces that I had set aside earlier from the Baroque Corner dies, just to compliment the yellow die.
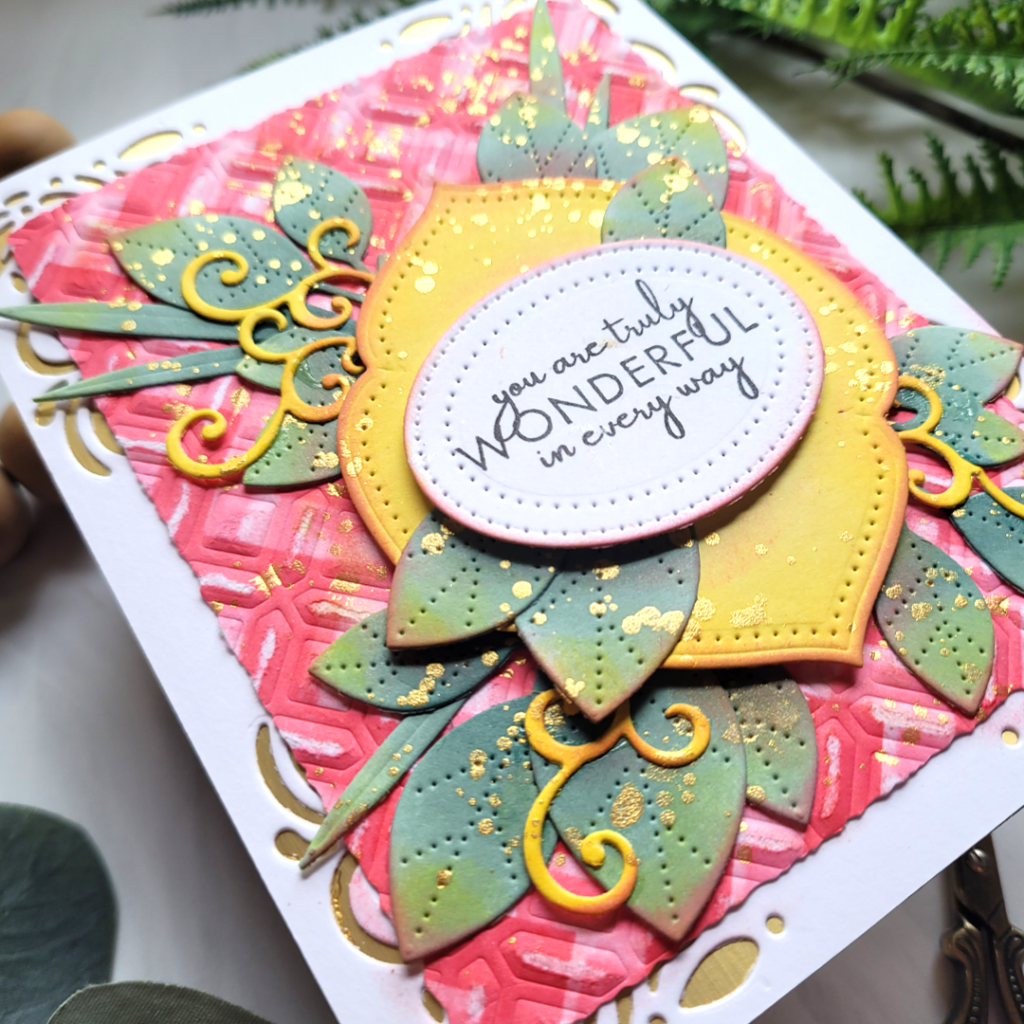
Once everything was inked up, I added a splatter of gold metallic watercolor over all of it and then placed the sentiment, the yellow die, and the foliage over the background panel that I had created earlier. The sentiment was propped up on foam tape.
This turned out beautifully and I love all the layers that just come together cohesively, thanks to PTI’s well-coordinated products!
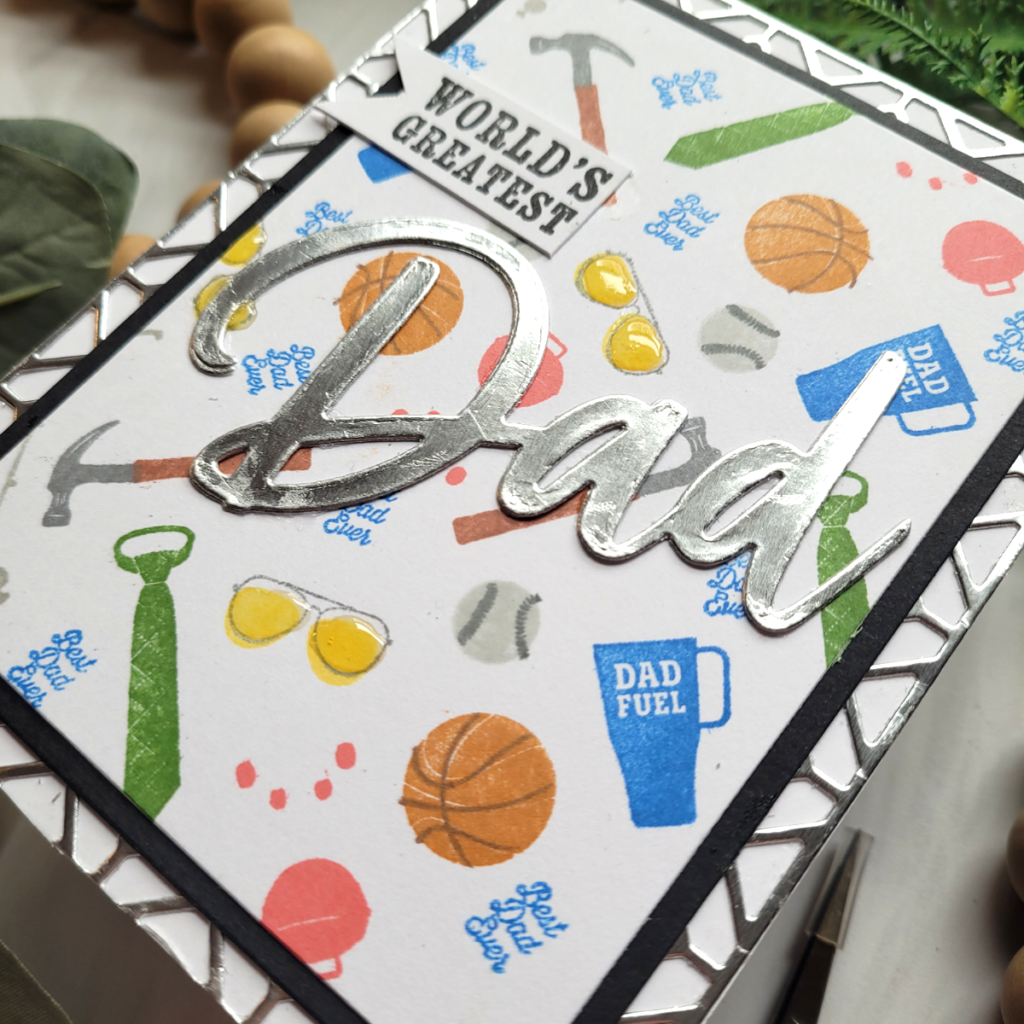
Next, I created a masculine card for the fathers in our life! I’ve used Just for Dad stamp, Larger than Life: Dad die and sentiments, and Exquisite Cover Plate die.
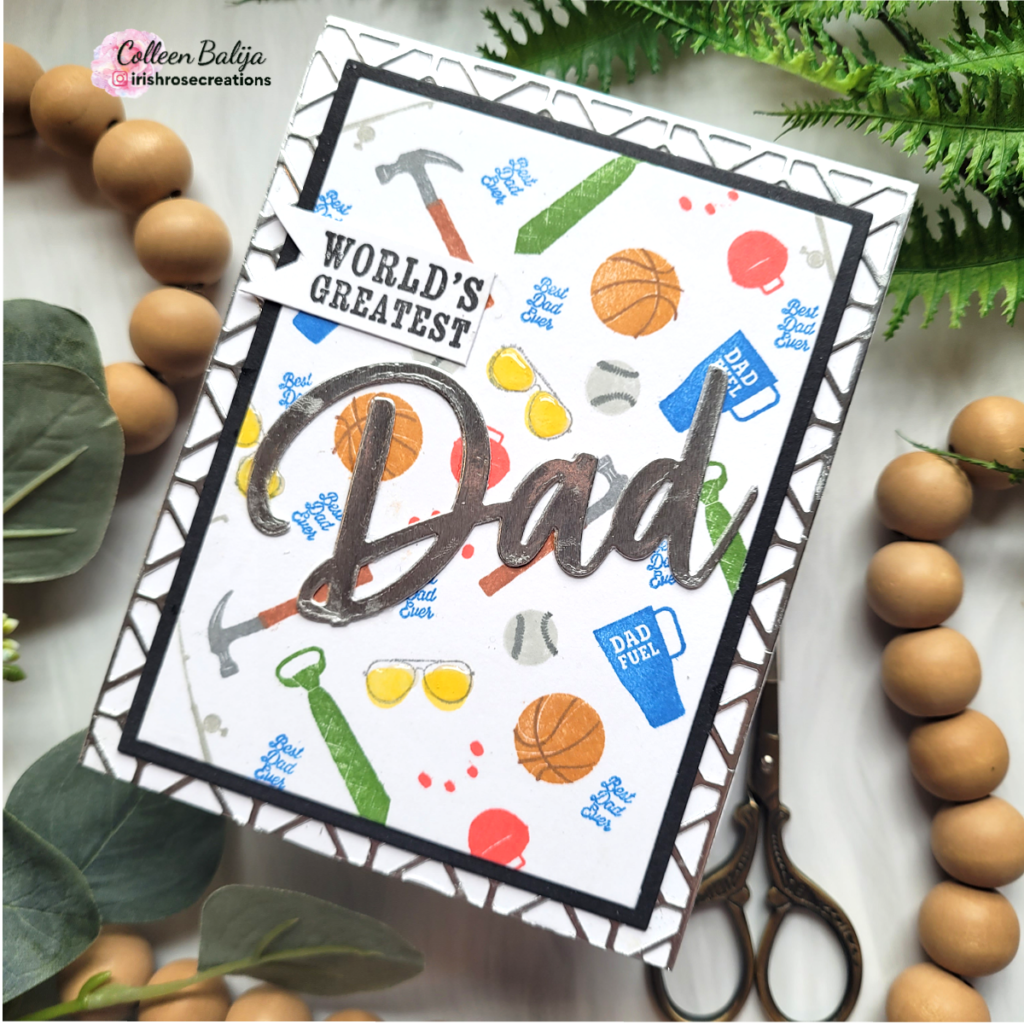
I struggle with masculine cards, so I tend not make too many of them. So, this release provided a great opportunity to practice my masculine cardmaking skills! The first step was to create a background using Just for Dad stamp set. I stamped several of the small elements onto a white card panel in various shades of color, trimmed it down, and placed a slightly larger piece of black cardstock behind it to frame the background. Next, I die cut Exquisite Cover Plate in silver and placed that over a 5.5×4.25 white card base. I adhered the background over the cover plate so you could see the silver Exquisite Cover Plate peeking out from behind. The black frame really helped that silver pop a bit more!
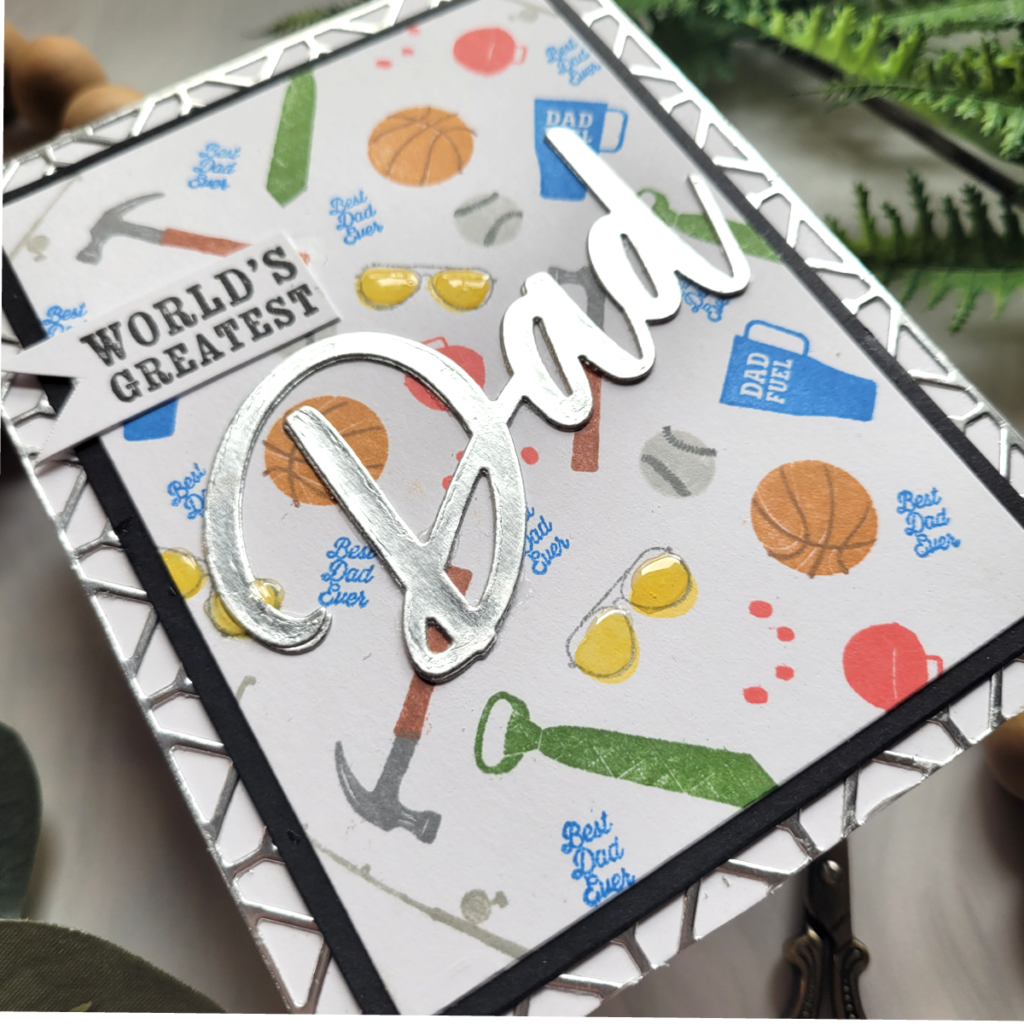
Next, I die cut the word “Dad” from Larger than Life: Dad die and stamped a sentiment from Larger than Life: Dad Sentiments. I trimmed the sentiment to create a flag shape and adhered that and the Dad die over the background. I finished with Glossy Accents over the eyeglasses! This masculine card came together so easily! You could replace the sentiment with another one in your stash and also create a few of these background panels to keep on hand for that last minute masculine card you forgot to make! he he!
I’m so glad you joined me today for the Papertrey Ink April new release! To shop the new release, visit the store here. To join our fun Instagram hop and enter to win a prize, click here.