Hello friends,
Welcome to the January Gina K Designs release! Gina is introducing some amazing new products to her line! Today I’m sharing 3 cards using the Beautiful Moments stamp designed by Lisa Hetrick! This stamp has several design elements that can be used in a variety of ways. I hope to show you 3 ways to use them today!

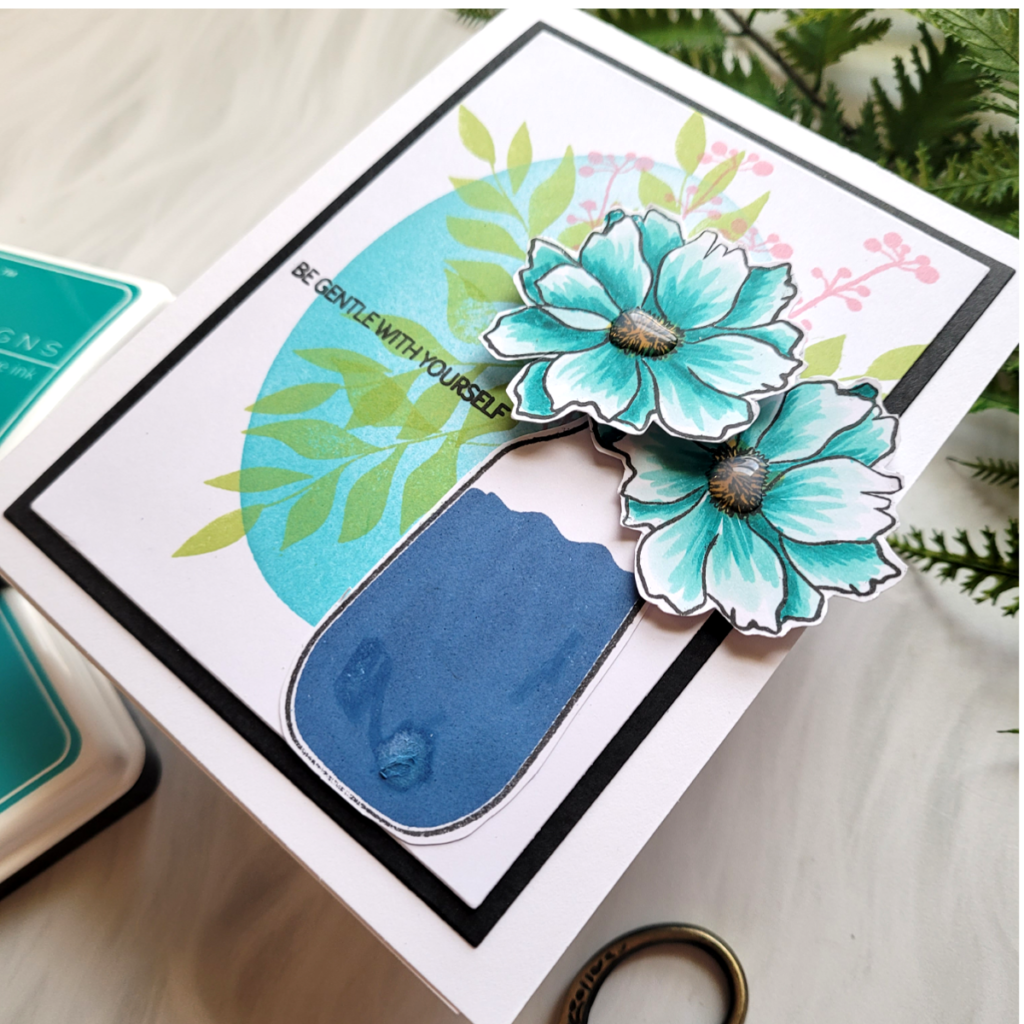
For my first card, I used the vase, flowers, and foliage from the set in my card. I started by stamping the flowers and vase, and then I die cut them. Next, I trimmed down a piece of white cardstock and created an oval mask to ink blend through the middle of the card panel using Gina K inks in Ocean Mist, Turqoise Sea, and Tranquil Teal. I thought this would create a lovely backdrop for the flowers and vase!
Next, I staged the vase and flowers where I wanted them so that I could stamp the foliage behind it. I didn’t adhere them down just yet. I placed the foliage where I wanted it behind the flowers and then removed the flowers to stamp the foliage using my stamp platform. I repeated this step several times. The foliage was stamped in Grass Green and Medium Carnation.

Then I adhered the vase and flowers in front of the foliage, placing the flowers onto Gina K Designs foam tape so they popped up a bit. I finished with a sentiment from the Beautiful Moments stamp set and Glossy Accents over the stamins of the flowers.
Card #2 uses the flowers and foliage and a cute butterfly that comes with the Beautiful Moments stamp set!

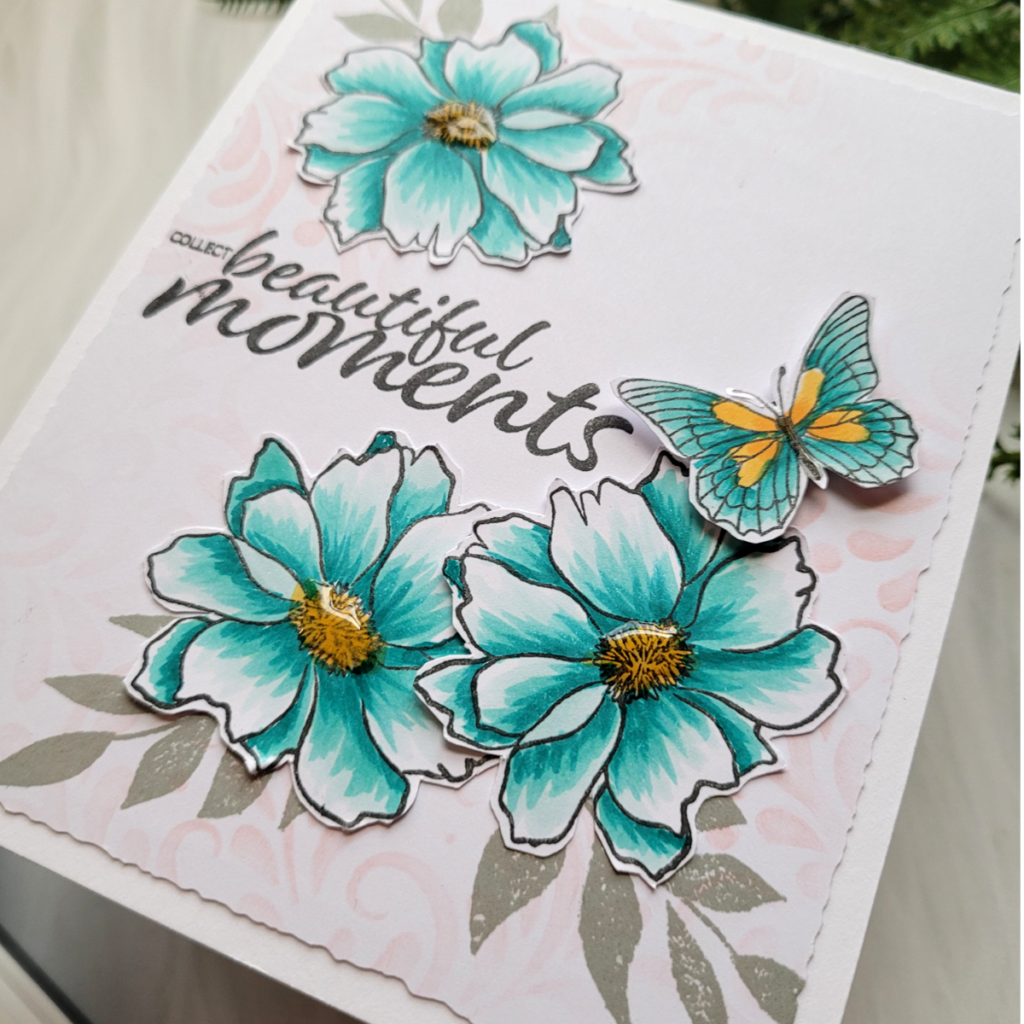
First step was to lay out the design composition for this card. I wanted the flowers to surround the beautiful larger sentiment that comes with this set, so I stamped and die cut 3 flowers and the butterfly. Then I colored them with my Copic markers in shades of teal and yellow.
To work on the background, I created a subtle shade of pink color by ink blending through the Harvest Flourish stencil with Innocent Pink just in the upper and lower corners of the card panel so as to leave some white space on this card.

Next, I placed the flowers where I wanted them on the card panel without adhering them down. Then I placed the foliage stamps where I wanted them behind the flowers and picked up the stamp using my stamp platform. I removed the flowers and stamped the foliage in Moonlit Fog ink. Then I placed the flowers back into position (again, not yet adhering them) and stamped the sentiment. Isn’t that font incredible? Once all of that was finished, I adhered my flowers and butterfly. The butterfly was popped up using Gina K Designs foam tape.
Card #3 uses the flowers and a stem that comes with this lovely stamp set!
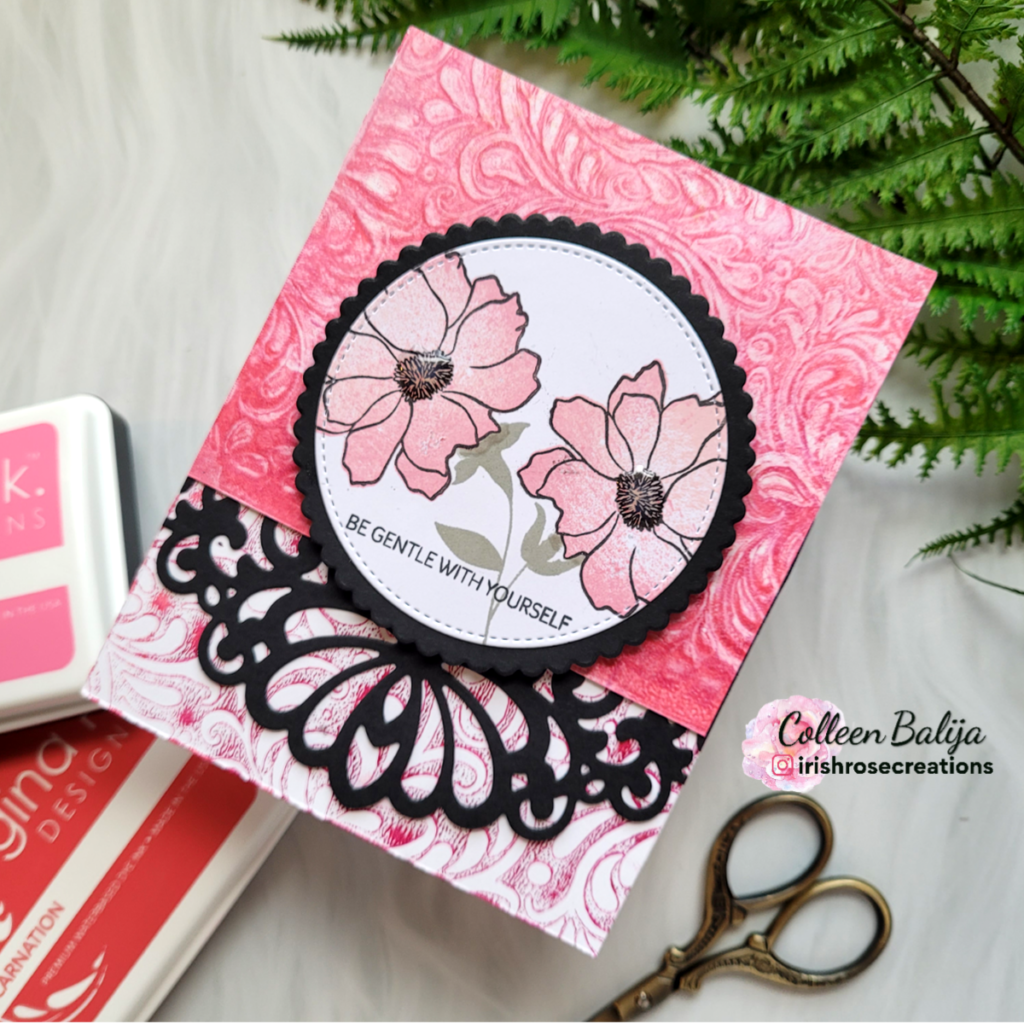
I had some fun with this elegant card! I had background card panels that I created using Gina K’s Harvest Flourish stencil, ink, and my gelli plate. I grabbed 2 of them and placed them together into one card panel. I love how they work together like patterned paper! I separated the two panels by using the Elegant Edger die in black. Next, I die cut two circles from the Master Layouts 8 set in black and white and went to work on the flowers!
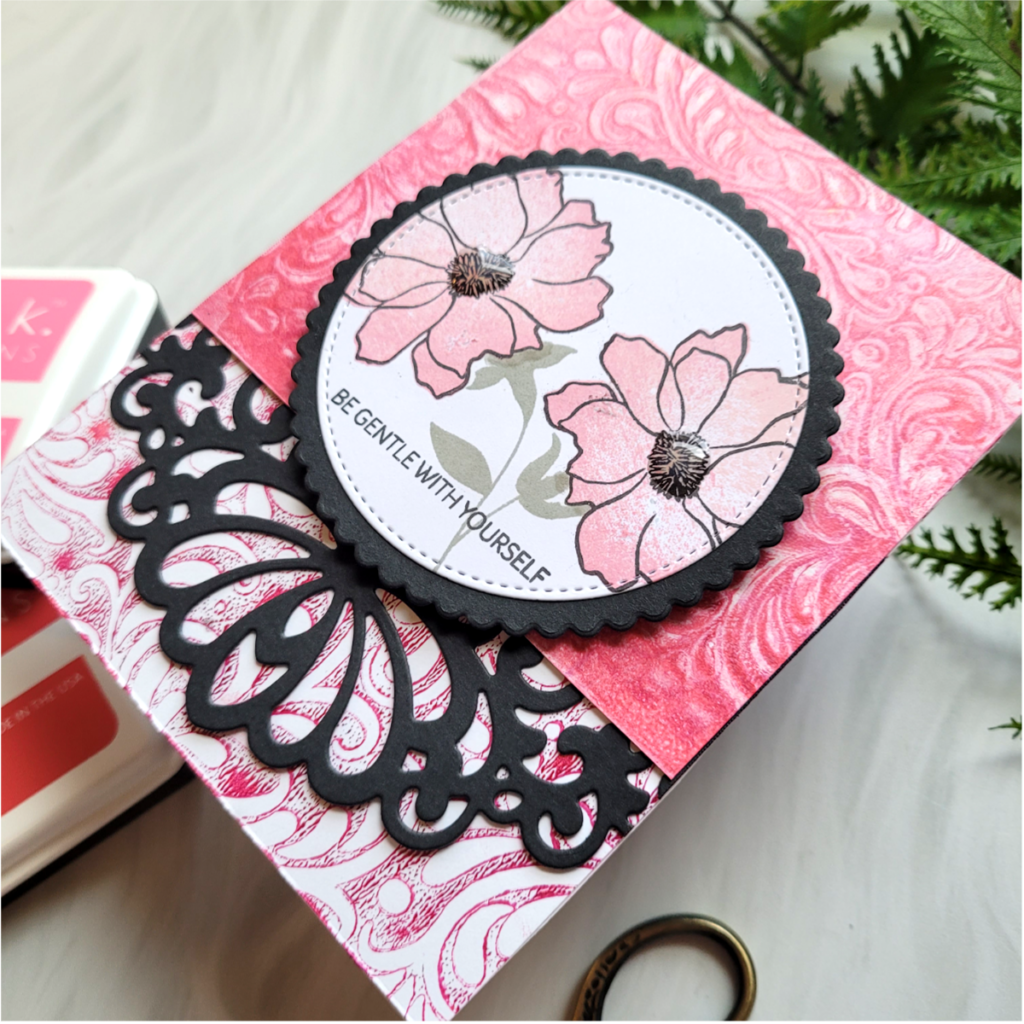
I stamped the outline of the flowers twice onto the smaller white circle and then filled them in with the 2nd stamp layer that comes with this stamp set. So, you can either color the outline of the flowers yourself like I did in card #2 or stamp the inside with the coordinating layering stamp as I’ve done here! I used Light and Medium Carnation inks for the flowers, with the darker ink just circling the perimeter of the flowers to add dimension. Then I created a mask of both flowers to protect them while I stamped the coordinating stem from the set in Moonlit Fog ink. I removed the masks and finished with the smaller sentiment from the stamp set. I adhered the white circle over the black one and placed both over the top of the card panel with Gina K’s foam tape. I like how the pop of black from the Elegant Edgers die coordinates with the black scallop circle framing the flowers!
I hope that you got some good ideas on different ways to get the most of one stamp! Some other ideas are to create a background using the flowers and the butterflies or just the leaves. Then finish with the larger sentiment from this set framed with one of your favorite Gina K Designs dies!
Thanks for stopping by! The release is live now, so visit Gina’s store here to shop. You can also see Gina’s live video showcasing the entire release by visiting her here. Enjoy!!!