Hi friends! Welcome to another Friends of Unity blog hop. This month’s theme is Inspired by! Meaning, who or what inspired us to create the cards for this month? I can’t wait to share my cards and inspiration with you! You’ve probably arrived from the lovely Tammy. Welcome to my blog! To start at the beginning of the hop, click here.

I’ve got 2 cards to share with you today. My inspiration is Tiffany Solorio. Click on her name to reach her Instagram page. Tiffany has a series of alcohol ink technique videos that are beautifully done, and they truly simplify the process! She’ll do a much better job than me explaining the techniques, so you can watch her videos by clicking here. Believe me, you’ll walk away with AMAZING new ideas to use with your alcohol ink stash – and you don’t need many of them to achieve the desired results!
Let’s move on to my cards now! My first card uses Eiffel Grunge stamp and Perfect Girl stamp. The alcohol inks used are Mushroom, Moss, and Monsoon, and I also used Alcohol Blending Solution and Alcohol Lift Ink. The paper I used was Nara, but you can also use Yupo paper. Something with a smooth, shiny finish. You can find these products at any of your favorite stores! The Nara paper was from Amazon.
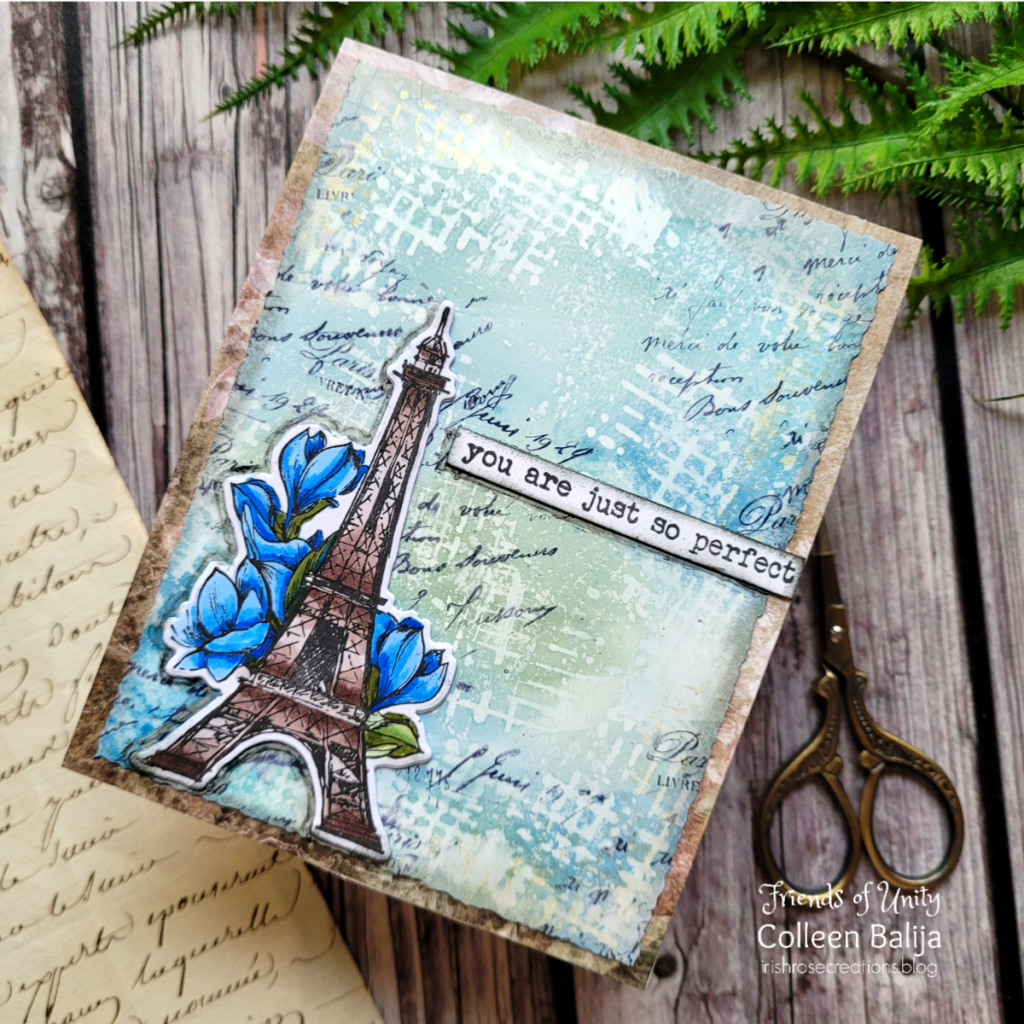
Step one was to create that marvelously detailed background that Tiffany explains in her videos! Starting with white Nara paper trimmed to 6×6, I applied a small amount of Alcohol Blending Solution onto the paper and then a drop of all 3 alcohol ink colors in a triangle over the blending solution. Then I used a piece of saran wrap and placed it over the paper and rubbed the alcohol ink around over the saran wrap with my fingers. I repeated these steps a couple of times until I was satisfied with the outcome.
TIP: Take the left-over ink from the saran wrap and immediately place it over a clean piece of Nara or Yupo paper for a 2nd background. You’ll get a more subtle effect but it’s still beautiful!
Next, time to add more layers according to Tiffany, because they add detail! Once the alcohol ink was dried, I took an abstract stamp from Eiffel Grunge stamp, dipped into the Alcohol Lift Ink, and stamped it onto the panel in various places. I let the ink sit for a few minutes and then gently dabbed the ink off using a paper towel. It’s important to dab and not rub, because rubbing will move the alcohol lift ink and smudge your results! Once the alcohol ink was removed, then it was safe to rub the panel with a clean paper towel to brighten up the white spots where the alcohol ink was removed. You can see in the photo below the areas where the alcohol was lifted from the panel!! How fun is that technique!!!
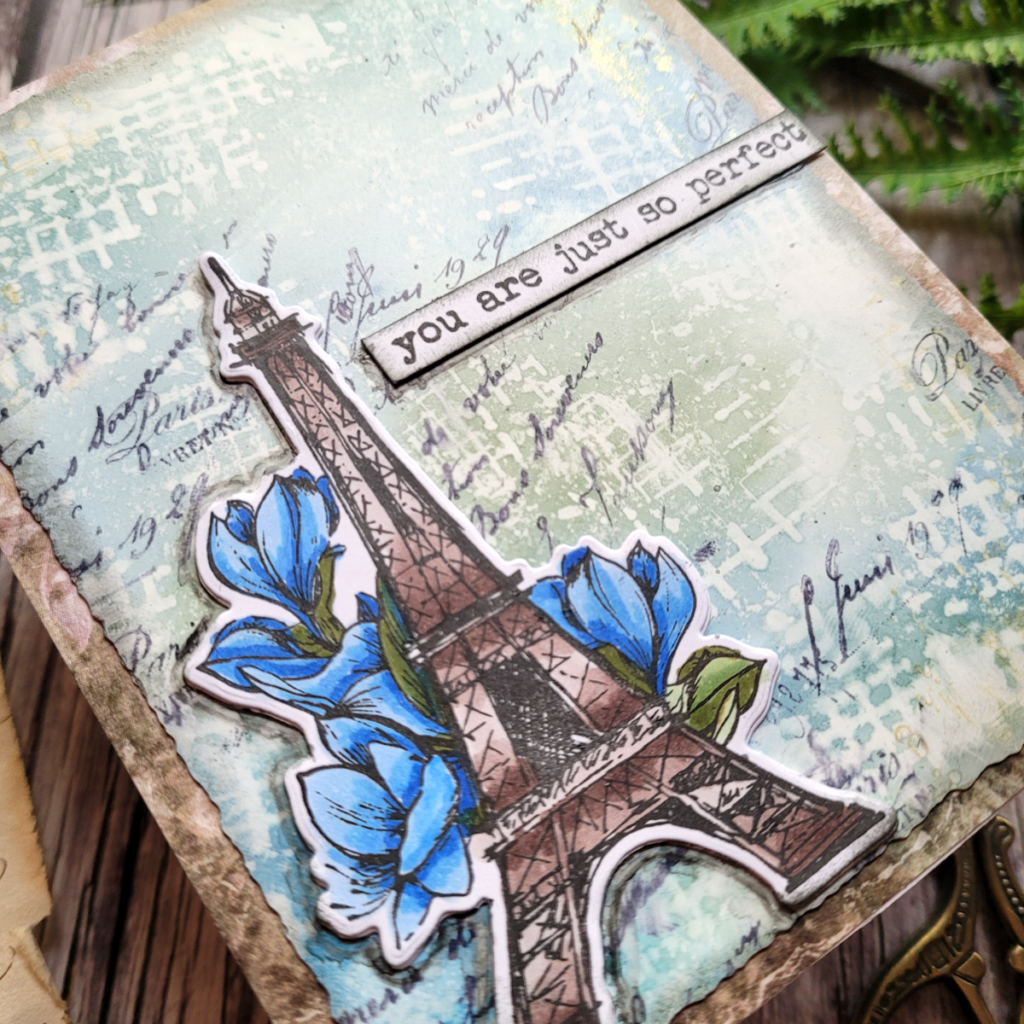
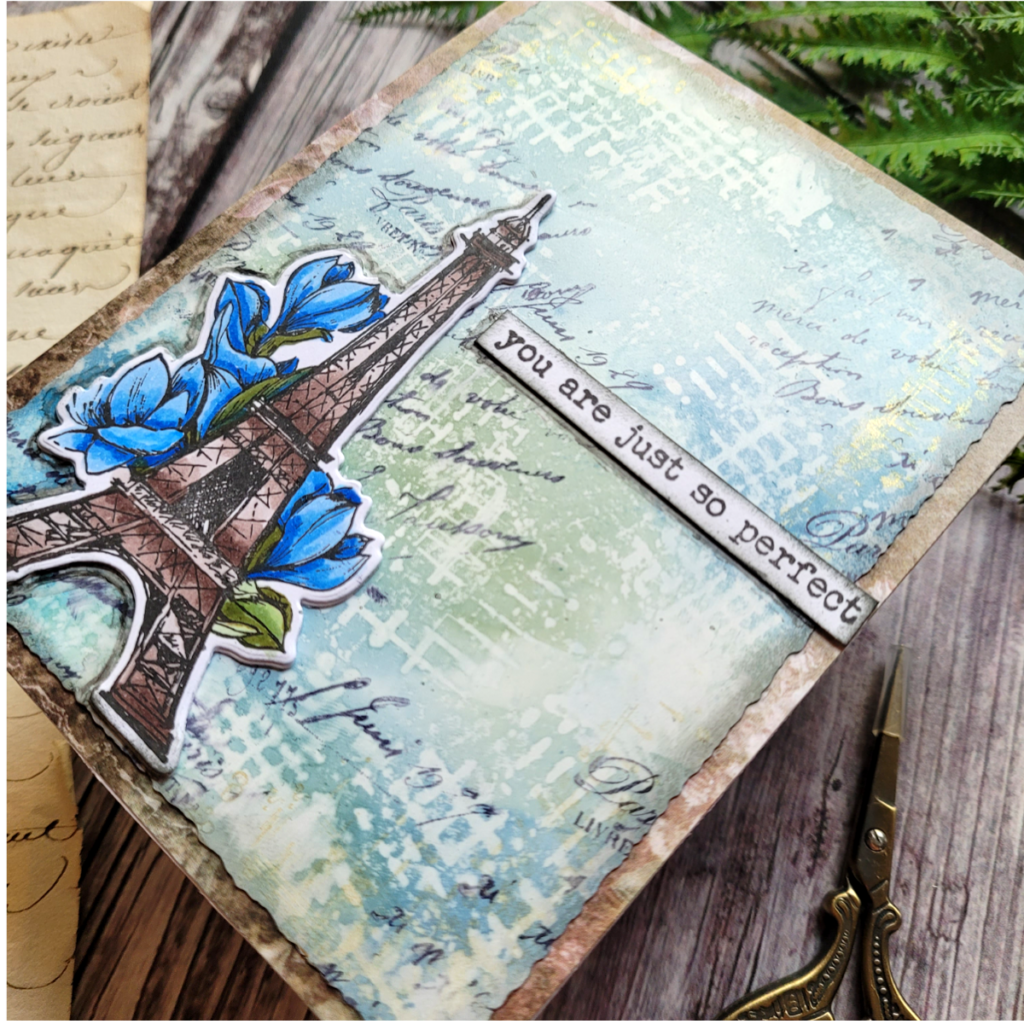
Next, I went back in with another stamp from Eiffel Grunge stamp set and stamped in places using black archival ink. Be careful to allow this ink to dry before doing anything else – the panel is smooth and shiny so the ink will sit on top and smudge. Once the stamping was dried, I trimmed the panel with my deckled edge paper trimmer, added black ink around the edges, and placed it over a piece of patterned paper from Vintage Whispers paper pack. I LOVE LOVE LOVE this paper!!! Then I stamped the Eiffel tower with flowers, colored them in, and placed them over the panel. There is a coordinating die to this set, so I die cut it twice and glued the layers together to help it stand out a bit more. I finished with a sentiment from Perfect Girl with a dusting of black ink around the edges to help the sentiment stand out.
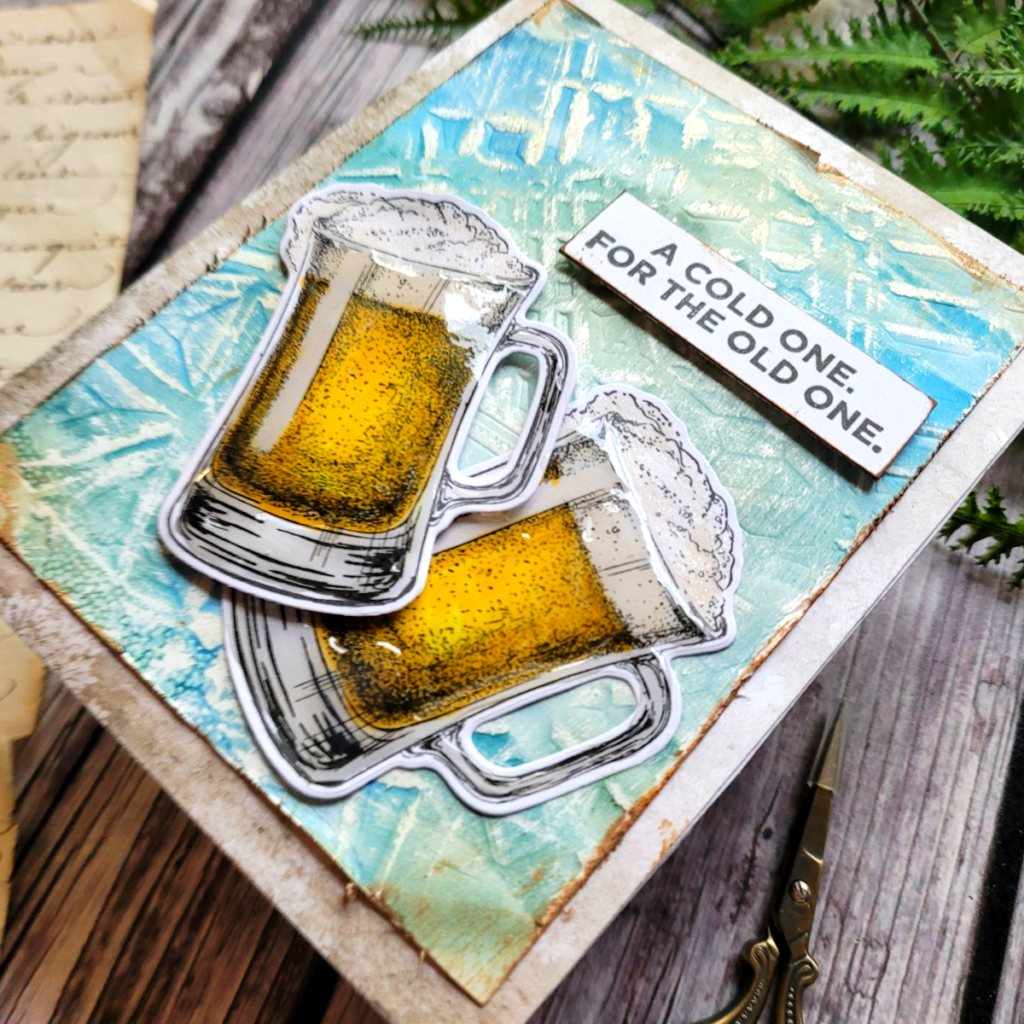
Next card uses A Cold One stamp set and the same alcohol ink products mentioned above.
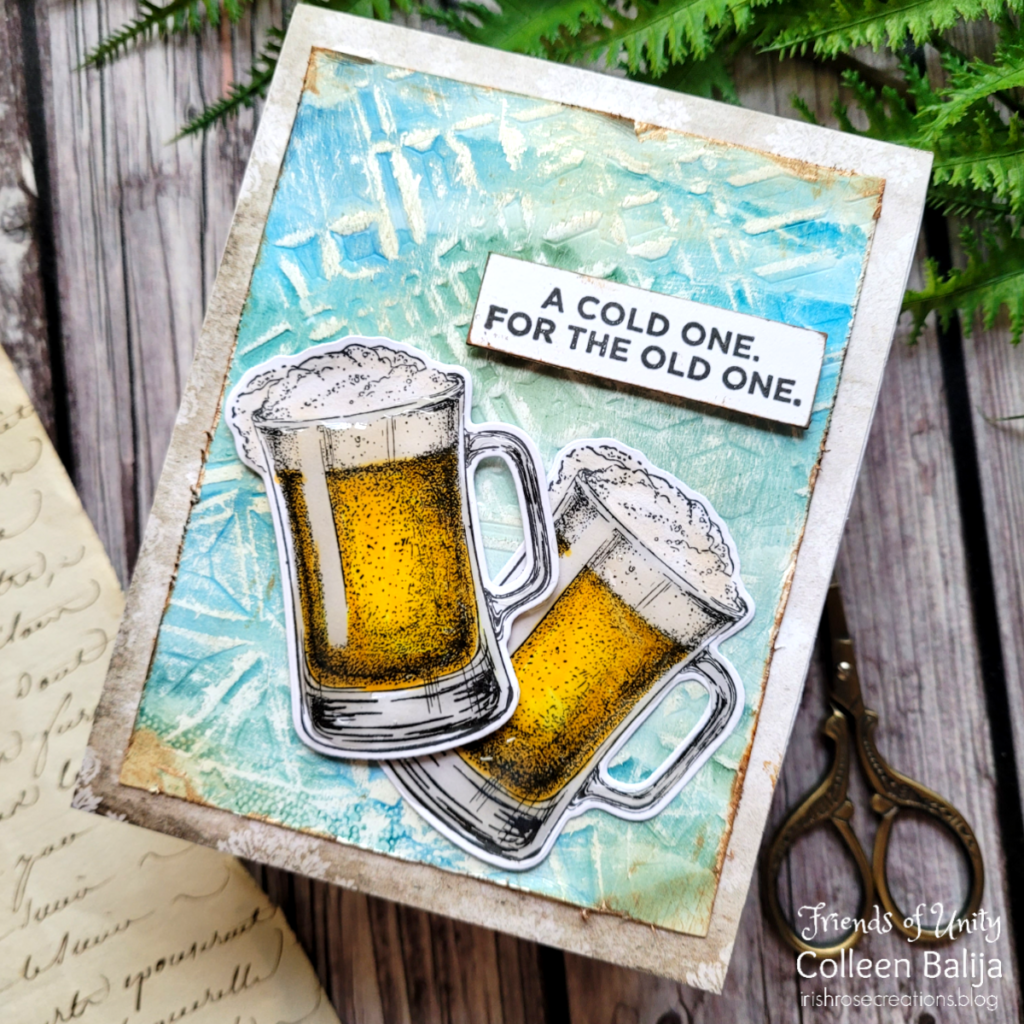
This background uses a different technique than the alcohol lift. I followed the same process to create the alcohol inked card panel as with card #1, only this time I dry embossed onto the panel with an abstract embossing folder that I had on hand (any embossing folder will do!). Then, I went over the raised parts of the embossed image with a sanding block and removed the alcohol ink using the sanding block. This created a really cool distressed look! I trimmed the card panel down and distressed the edges using a distressing tool. Then I added brown ink around the edges and adhered the panel to a piece of patterned paper from that same Vintage Whispers paper pack!
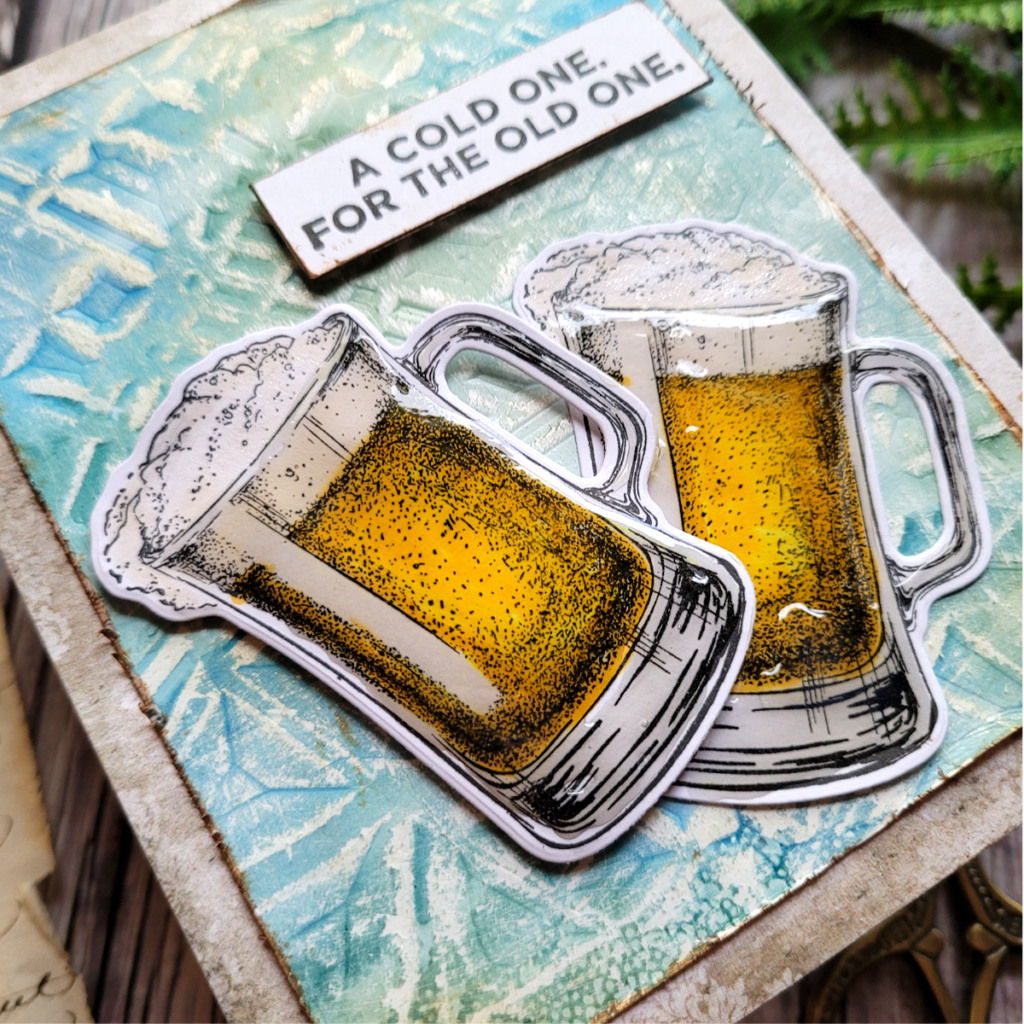
Next, I stamped the beer bottles from A Cold One and colored them. I added Glossy Accents over it so that the mugs looked shiny. I adhered both to the finished card panel, placing one on foam tape, and finished with that hilarious sentiment “A Cold One. For the Old One.”
So today you learned about 2 easy techniques to jazz up your alcohol ink backgrounds! Plus, you learned a new and easy way to apply the ink with saran wrap! You get a very textured effect using saran wrap, and if you leave the saran wrap on top of the card panel until it’s dry, the effect is absolutely incredible! I hope you had fun today and will go visit Tiffany for TONS of ideas with alcohol inks!
Next on the hop is the sweet Rachel! Thanks for stopping by!!!
Wow wow wow, Colleen!! Your cards are amazing!! I have to watch the video you shared… thanks so much for sharing!!! Love these so much!
Both are gorgeous! I LOVE the beer one! So fun!
I love a grunge style card and yours is absolutely stunning! And even though I don’t drink beer, they look so real & refreshing. lol Fabulous cards!!
How fabulous your
cards are! Love the
effects on both.
Carla from Arizona
Thank you for the detailed instructions, your cards are awesome
these are both so lovely! while i’m not an alcohol ink user, I can see how these techniques could possibly work with distress oxides and water! Thanks for the inspiration!!
I apologize if this posts twice, I wasn’t sure my first comment took! I absolutely love the grunge look of your card!! I am not an alcohol ink user, but I am going to try this technique with my distress oxides and water!! Thanks for the inspiration!
Fabulous cards! I love the use of inked backgrounds.
I like the backgrounds on both of these cards.
Great cards! I especially love the Eiffel Grunge.
Your backgrounds are amazing!! Very inspiring indeed!!
I love both of your cards! Alcohol inks are one of the crafty supplies I have yet to add to my stash, but your fun backgrounds make me want to play!
Love the colors and textures! Beautiful cards!
Just amazing cards! And that background technique is stunning. I am inspired and in awe of your coloring. Thank you for the inspiration!