Hi everyone,
Today I’m participating in a fun IG hop along with my fellow Altenew Educators! The theme is called All About the Background, so our cards will be focused on unique and fun backgrounds! For details on the hop, you can find it at the end of this post!
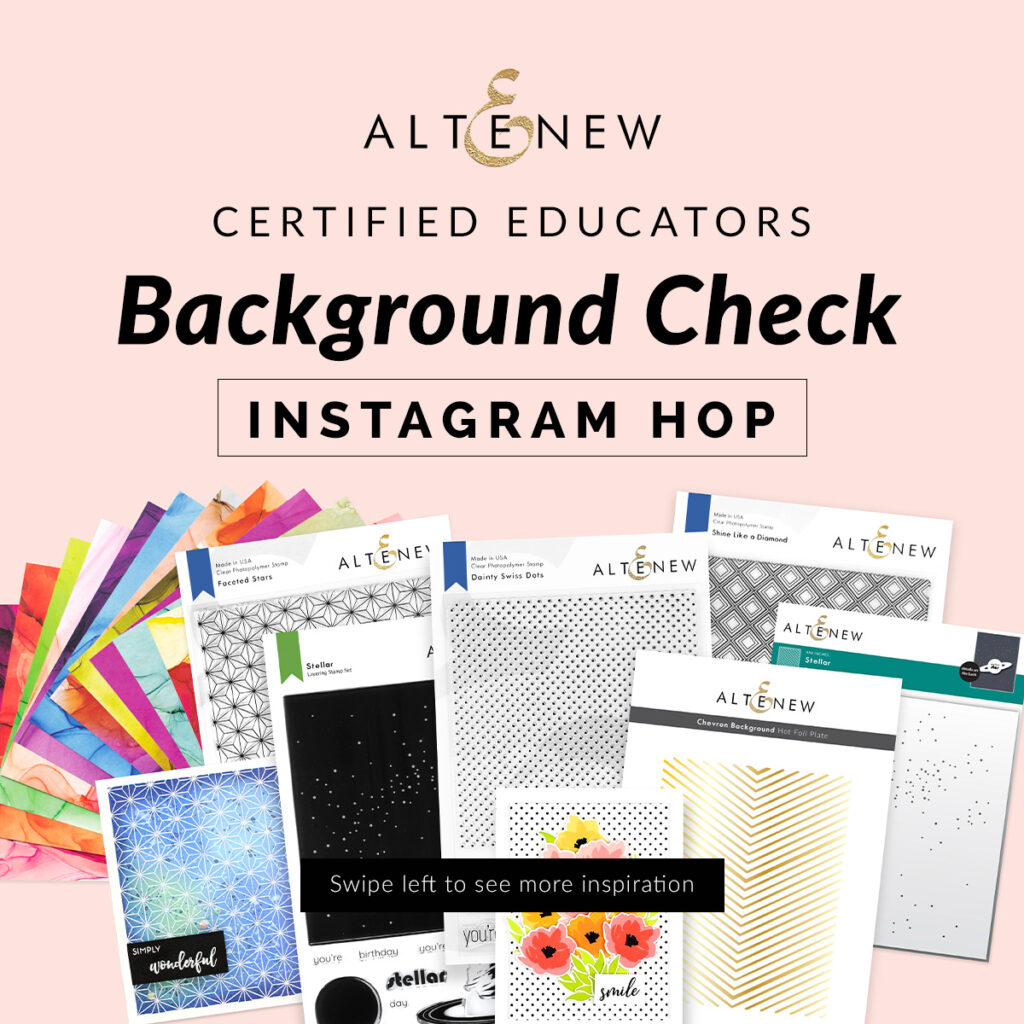
Creating a background is harder than you think. It needs to compliment the focal point without stealing the show. It needs to have color, texture, and shine and all must be done in a cohesive way. I have 3 helpful tips to help you create a fantastic background everytime using color, texture, and shine:
- Limit your colors to no more than 3
- Make good use of those embossing folders to add texture. Or use a stencil with translucent paste to add texture.
- Add shine with embossing powder combined with a stencil or embossing folder. Or grab a background foil plate to add shine.
Today I will share 2 cards I made with fun, homemade backgrounds that I created myself!
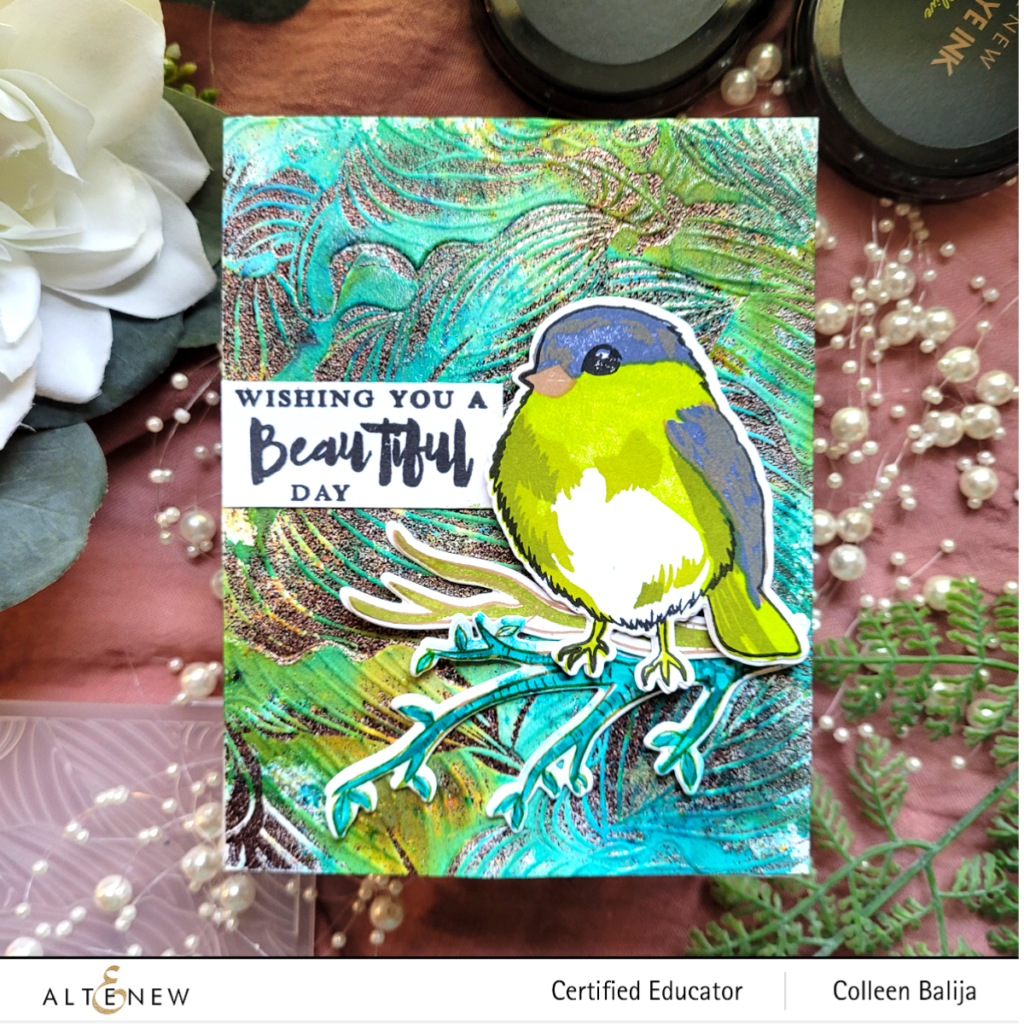
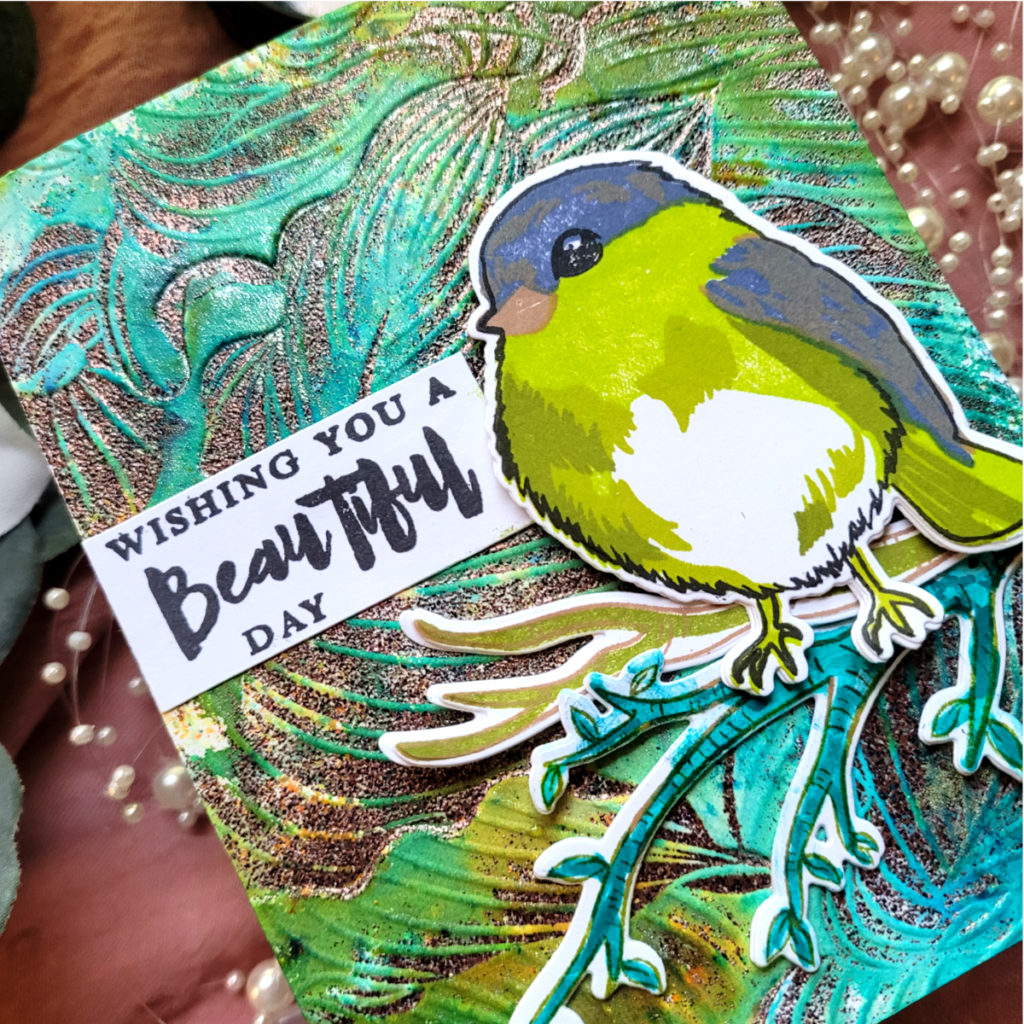
For this card, the backround combined 3 colors with an embossing folder and embossing powder for my color, texture and shine! Here’s how:
- Using a shade of blue, green and yellow, apply the colors onto a watercolor panel either direct to pape or by ink shmooshing as seen here. Allow to dry.
- Take an embossing folder and the inked up card panel and run it through your die cut machine.
- Apply a sticky embossing pad over the raised areas of the embossing folder and add gold embossing powder and dry with your heat tool.
- Prepare the focal point using the same color family as the background. You can change the lightness or darkness of it, but keep it in the same color families.
- Apply your focal point over the background. Use vellum or an interesting shape of cardstock behind the focal point if necessary to help the focal point pop.
Notice how cohesive my card looks because I limited the colors. The texture and shine add interest without competing for the main event! The bird was poppsed up on foam tape to help it stand out against the background! He was large enough to be added onto the busy background without placing something behind him. Smaller images may require you to add vellum or paper behind it to help the focal point pop.
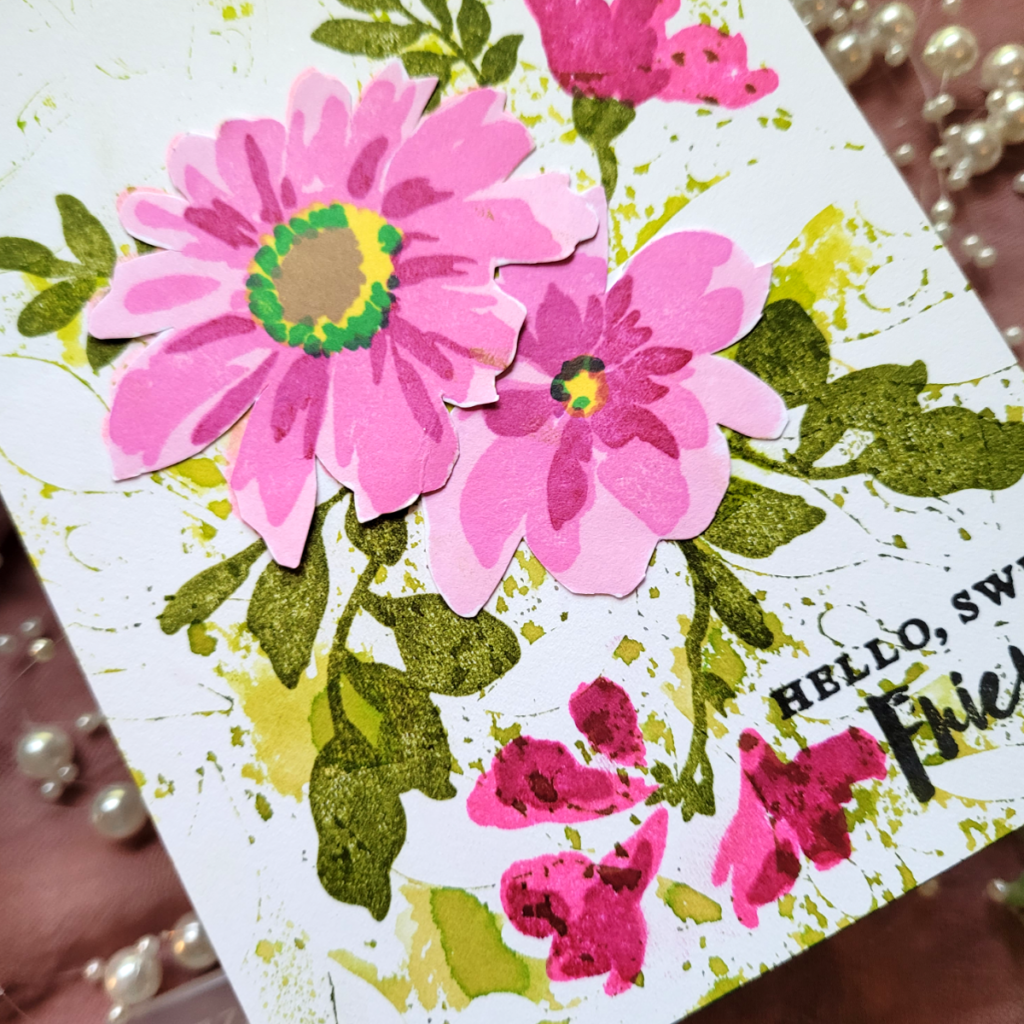
Next card uses a completely different background style using green, yellow, and pink ink, a leafy stencil, and a gelli plate!
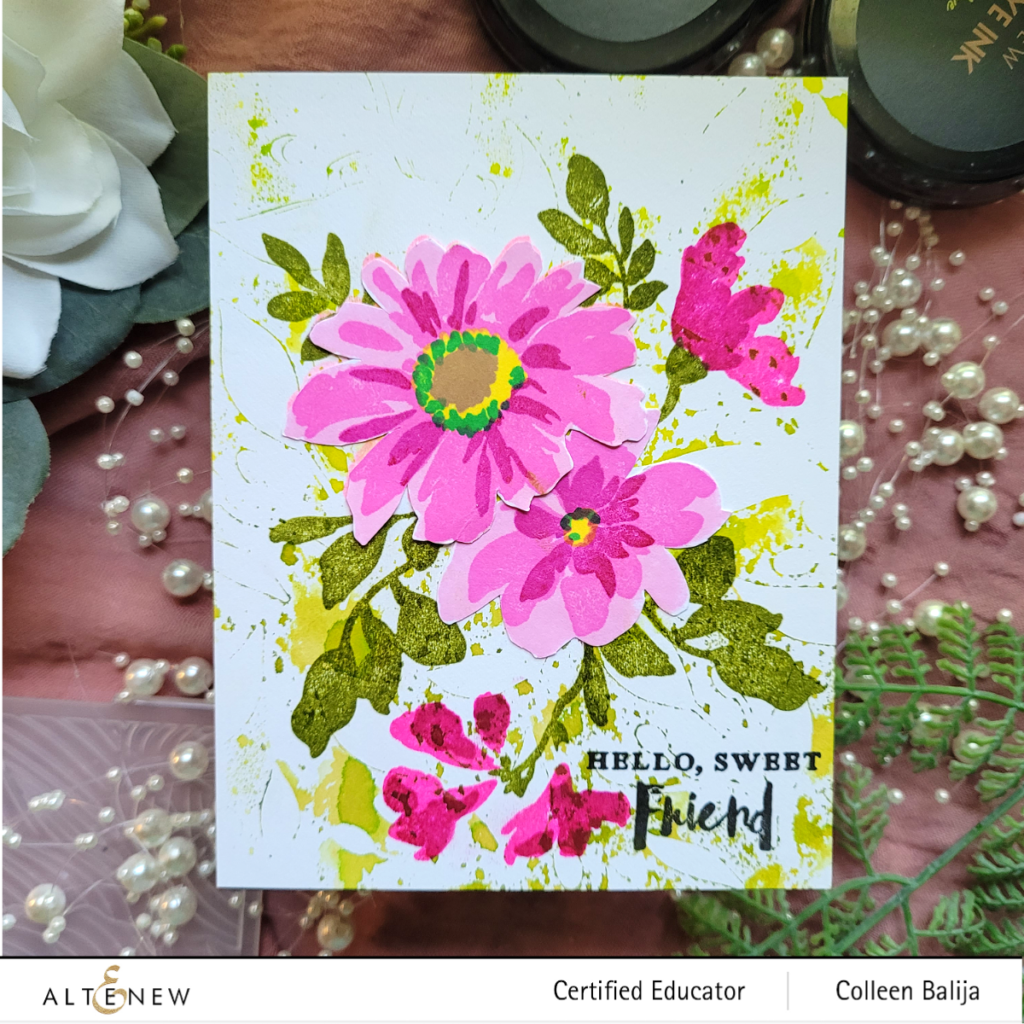
- Grab a gelli plate of any size and a brayer. Place green ink directly onto the gelli plate and then place the stencil over the ink. Place a paper towel over the stencil, pulling up the excess ink.
- Remove the stencil and set aside. Place a piece of layering weight cardstock onto the gelli plate and then replace the paper towel over the backside of the card panel. Use your hands to apply pressure to transfer the ink onto the card panel.
- Remove the card panel and look at your cool abstract background! It won’t be defined like it would if you inked directly through a stencil, but that’s the whole point of using a gelli plate! If you want a more defined look, opt for applying ink directly onto the card panel through the stencil.
- Stamp flowers in shades of pink, the stamen in yellow, and leaves in green. Die cut and adhere over the backgorund panel. NOTE: You may want to stamp a few of the flowers and leaves directly onto the card panel if it’s not too busy a background and your ink is dark enough.
- Add the sentiment.
This card uses 3 colors of ink as well. The background is abstract thanks to the gelli plate. The flowers that I chose are a bit abstract and playful as well, so they worked perfectly with the background! I opted not to add shine because the bright colors already added so much life to this card.
I’m so glad you joined me today! Below are details on the hop! Have fun and I do hope you get some great ideas on backgrounds – make a bunch of them in advance so that you have one ready to go when you need it!
Altenew is giving away a $20 gift certificate to 5 lucky winners! For a chance to win, please follow @altenewllc and the list of hoppeess below and leave a comment by 05/26/2022). Altenew will draw 5 random winners from the comments left on each stop of this Instagram hop and announce the winners on Altenew’s Educator Instagram hop post on 05/27//2021. Good luck!
Below is your updated hop list:
@altenewllc
@teresakim16
@made.by.michi
@kariavan
@tenianelson
@pennypynnonen
@stampgirrl
@annemarie_the_crafty_kiwi
@rotejas_magic
@sandespoema
@mylittleatticstudio
@crown_focus
@yesvirginialu
@rosieneust
@channellingmarthaau
@auzztrinkletsncrafts
@handcraftedbyjoy
@lanabylanadesign
@irishrosecreations (you are here)
@karens_mini
@bridgetcaseydesigns
@lblanch287
@nicolewattcreates
@cardrefinery