Hi friends!
I always get excited to share the new releases by Gina K Designs because they are…well they’re just aweseome every single month! The new release is live now, and you can find it here. If you want to get ideas on the new release items, watch Gina’s Live Demo by clicking here (Gina will share details about the demo in her stories).
I’ve got 2 cards to share with you today using Bold Flowers, designed by Melanie Muenchinger! I love how her beautiful designs coordinate with one another, and I hope to share a few creative ideas with you today with them! My first card uses the new Bold Flowers stamp and a previous Melanie Muenchinger release called Terrific Textiles and Beautiful Baskets! And, as always, I’m using Gina K’s gorgeous die inks!
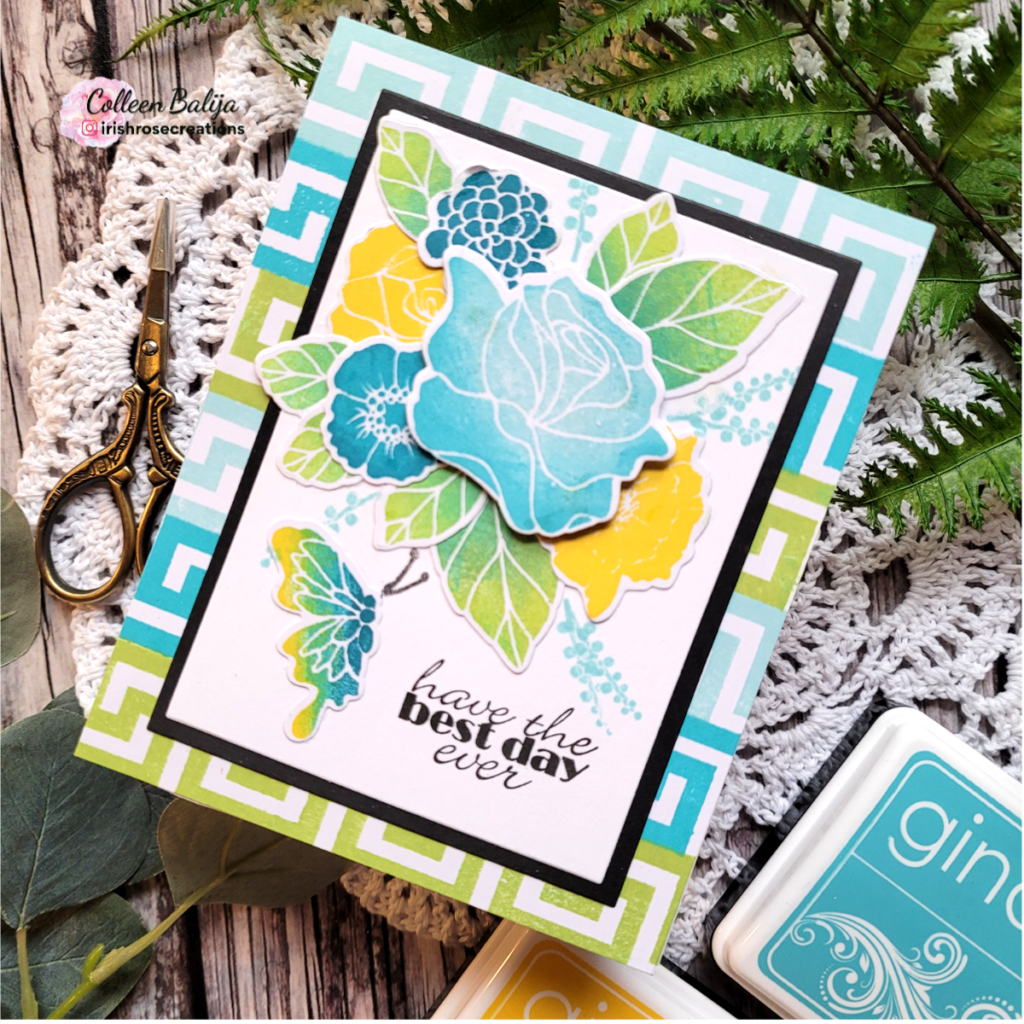
Step 1 was to create the color palette, which I chose in shades of blue, green and yellow. Using the geometric image from Terrific Textiles, I stamped a background panel using Blue Lagoon, Ocean Mist, and Grass Green dye inks. I placed the panel over a 5.5×4.25 white card base.
Next, I focused on the focal image. Using Gina K’s dye inks in Wild Dandelion, Blue Lagoon, Ocean Mist, Tranquil Teal, Honey Mustard, Key Lime, Grass Green, and Jelly Bean Green, I stamped several of the flowers and leaves, using the inks to create shading and depth of color to add interest to them. Then I die cut all of the foliage using the coordinating dies.
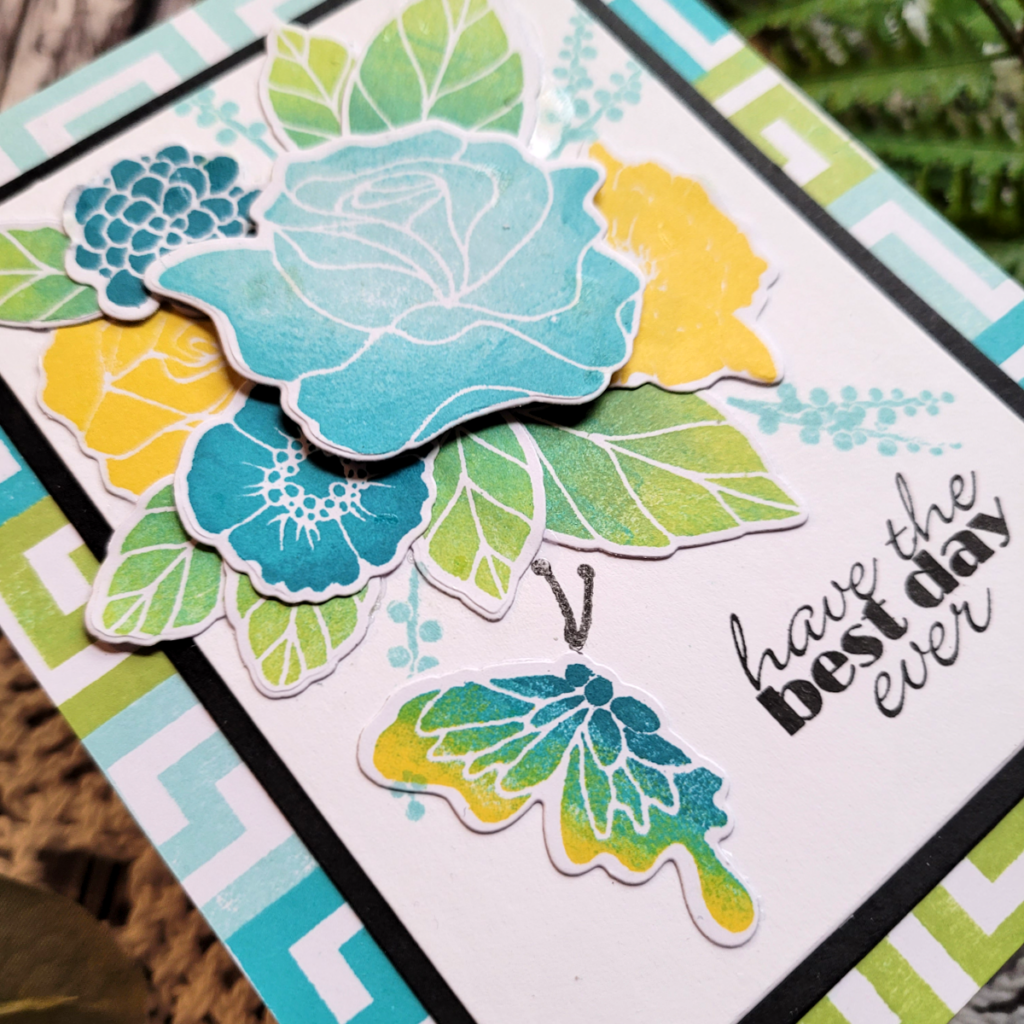
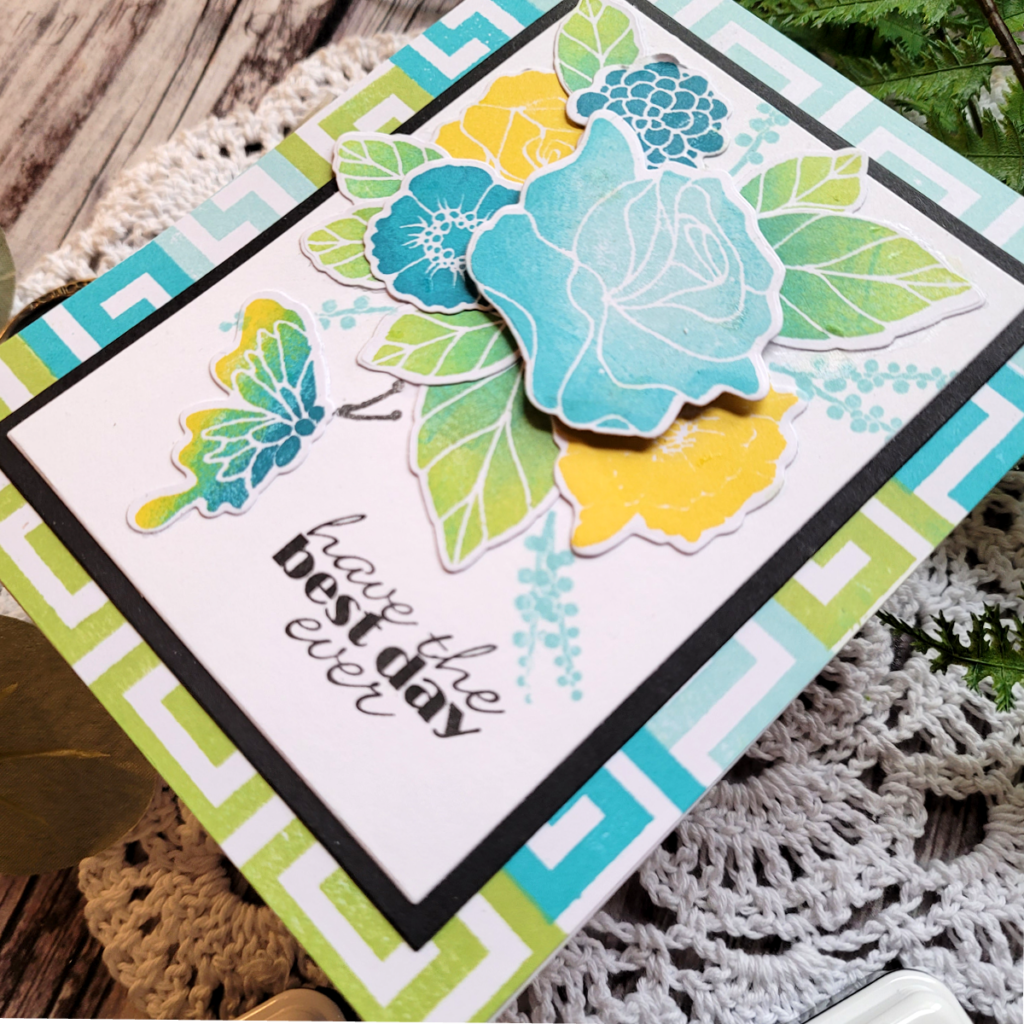
I trimmed a white card panel down using rectangle nesting dies, along with a piece of black cardstock slightly larger than the white and adhered them together. Then I staged the flowers and butterfly where I wanted them on the white card panel, stamped the sentiment from the Bold Flowers stamp set, and then adhered everything down. A few pieces were placed on Gina K Designs foam tape. I finished by stamping foliage from the Beautiful Baskets set around the floral design in blue ink. Then I adhered everything over the geometric background! I ADORE how this card turned out with the cool shades of color, flowers, and geometric touch! I always say that modern and vintage work so well together!
My 2nd card is a bit simpler but every bit as stunning, and that’s because of the technique of heat embossing!
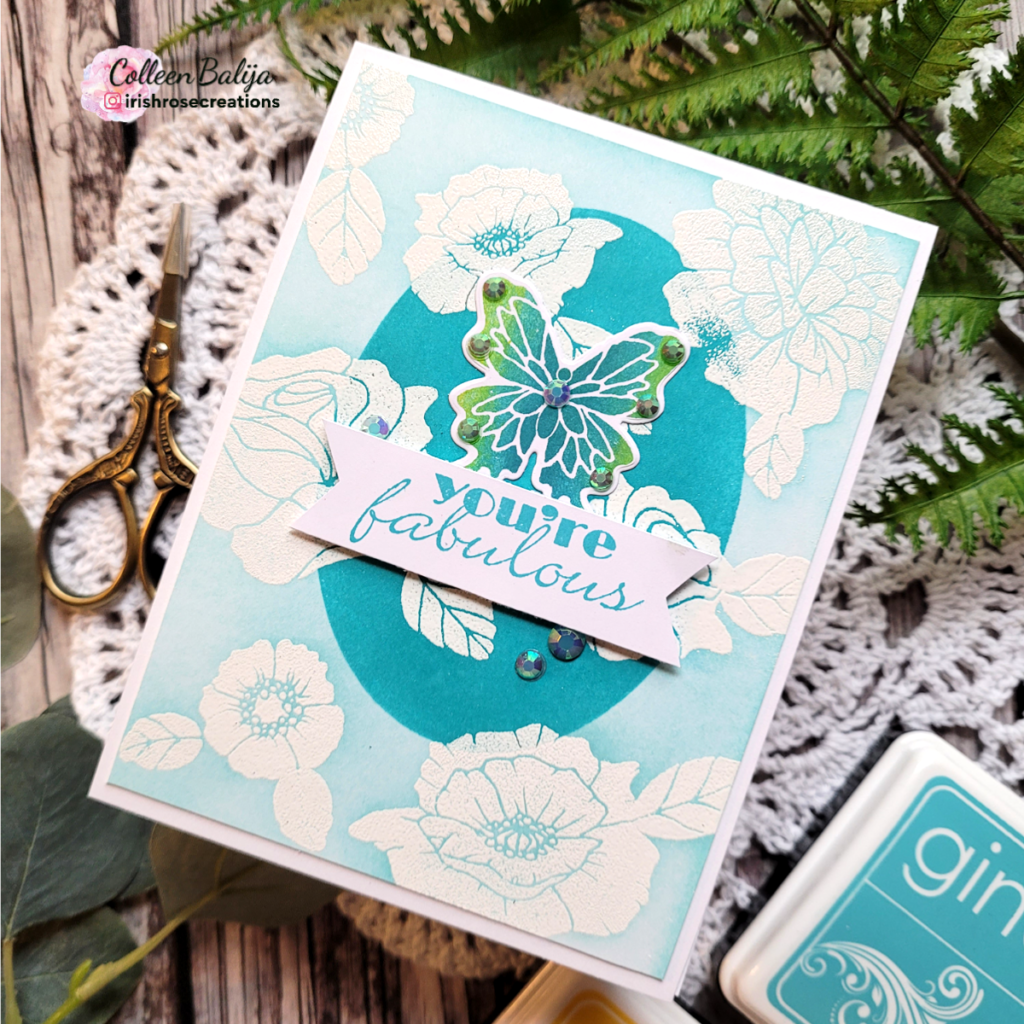
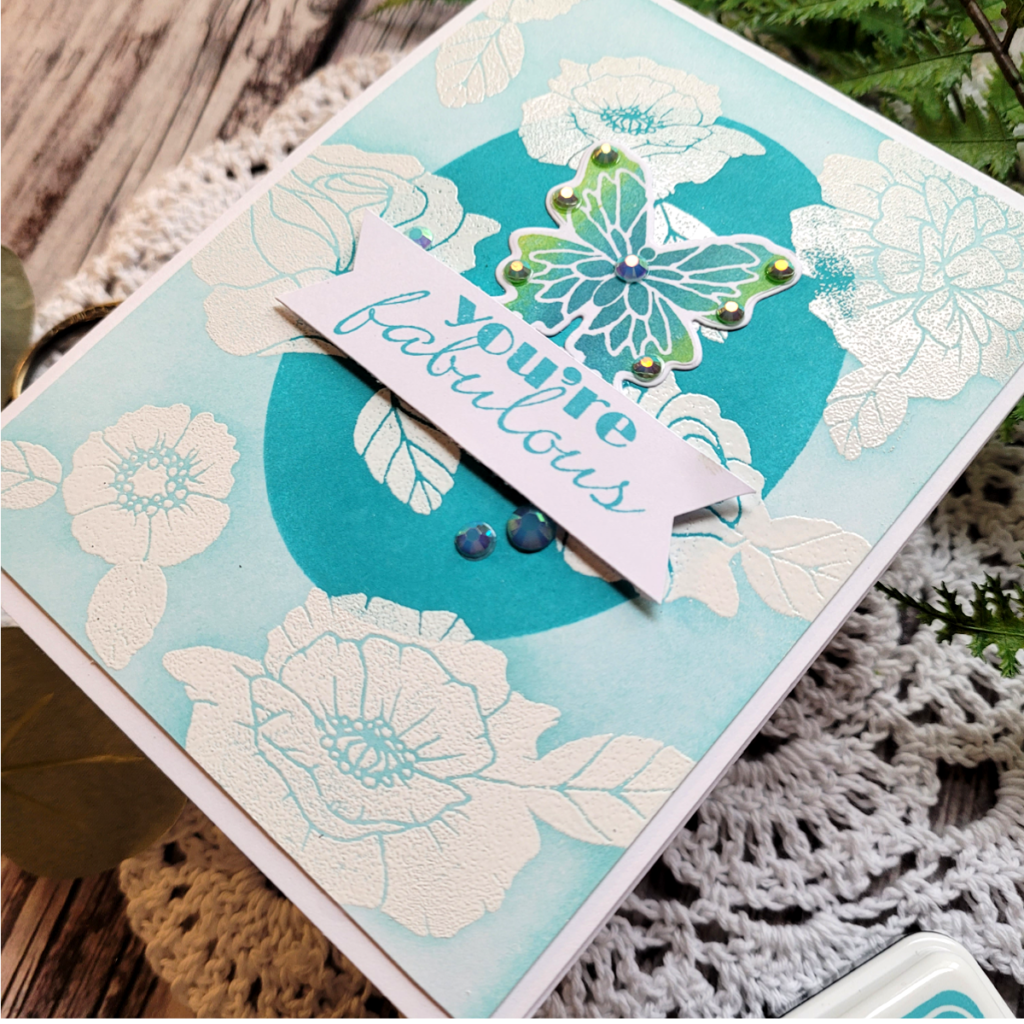
The floral images from this stamp set are solid, making it perfect for heat embossing! My first step was to create a background using several of the floral images from Bold Flowers. I stamped each image with embossing ink and then used bright white embossing powder to heat emboss the image onto the paper. Next, I ink blended over the embossed background using Ocean Mist ink. The embossing resists the ink, so it will show up over the ink blending! Just use a cloth to wipe off the excess ink from the embossed image!
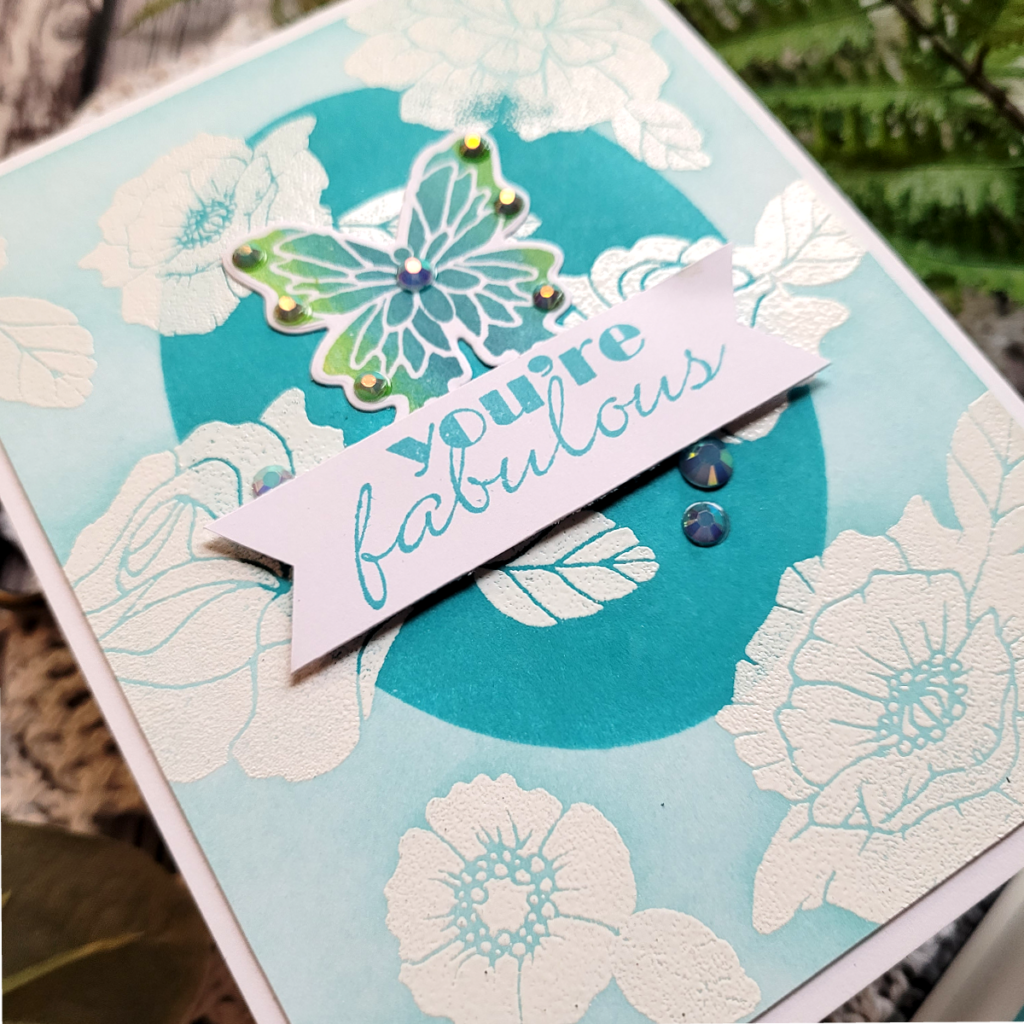
Next, I decided to add some depth and interest to the background by masking an oval in the middle of my background card panel and ink blending through the center of the oval with Blue Lagoon ink. I LOVED how much interest this simple step added to the card! And I was able to add my sentiment and butterfly over the oval image and have it pop off the page rather than blend into the background! I finished with a few sequins!
I’m so excited that you joined me today for Gina K Design’s May release! You’ll find so much inspiration from her live demo and from all the designers who will be sharing each of the new release items!