Hi friends!
I’m honored and thrilled to be celebrating with Crafty Meraki on their 3rd birthday with a new release and Instagram hop! Today I’ve got a few cards to share with you including a new release product by Crafty Meraki!
My first card is actually a set of 4 notecards featuring the NEW Effortless Artistry paper collection! This is a collection of 24 sheets of pre-colored paper that coordinates with a stamp and die! The paper is thicker than most ephemera, so it doesn’t feel floppy, and it’s faster and cleaner than coloring your own image. With the coordinating dies, you can cut several layers to stack behind for even thicker embellishments. With 24 sheets in several pre-colored images, you get A LOT of each image, which goes a long way! Below is a photo of how the pre-colored design works with the coordinating die! This is called the Spring Wonder set!
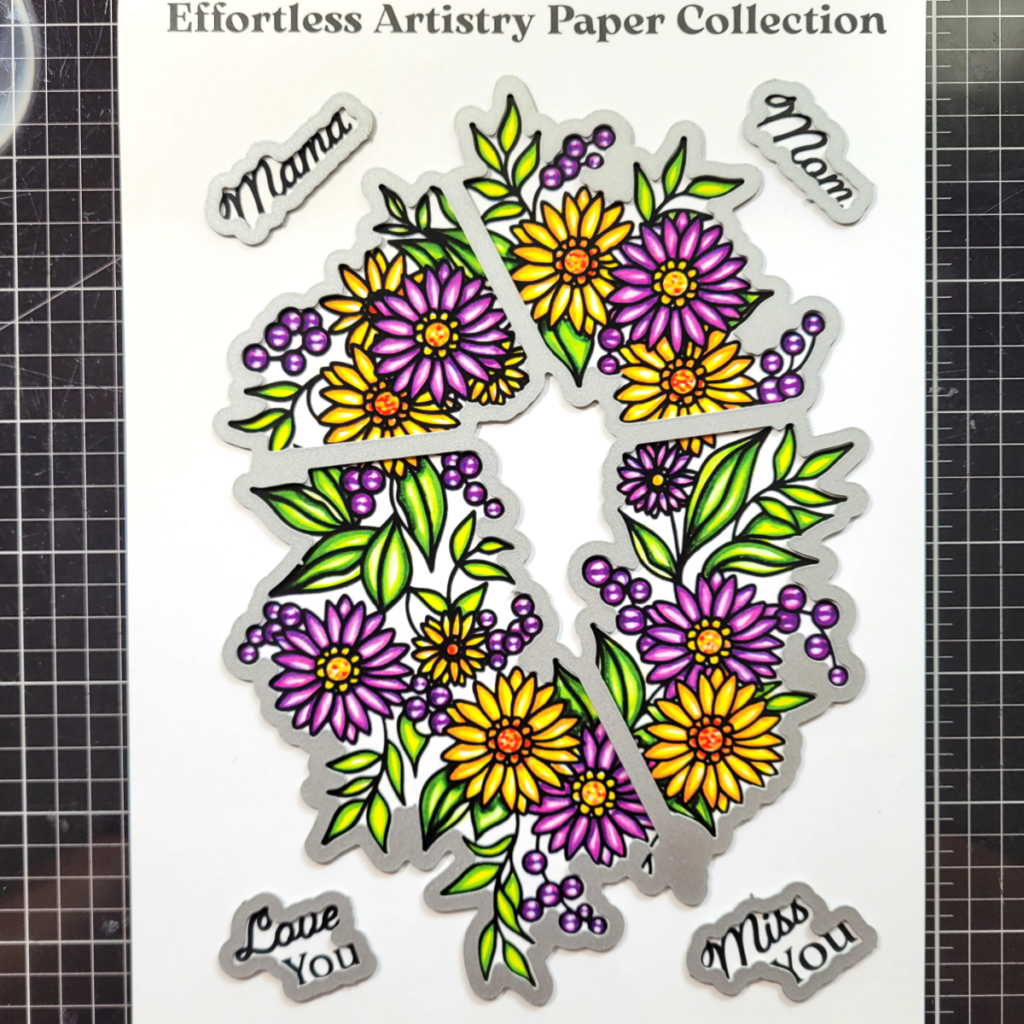
You can see how beautifully the die fits around the image and the sentiments! Now, let’s talk about my set of notecards using the Spring Wonder paper collection (EAP), stamp, and die! I was able to complete these cards in less than an hour!
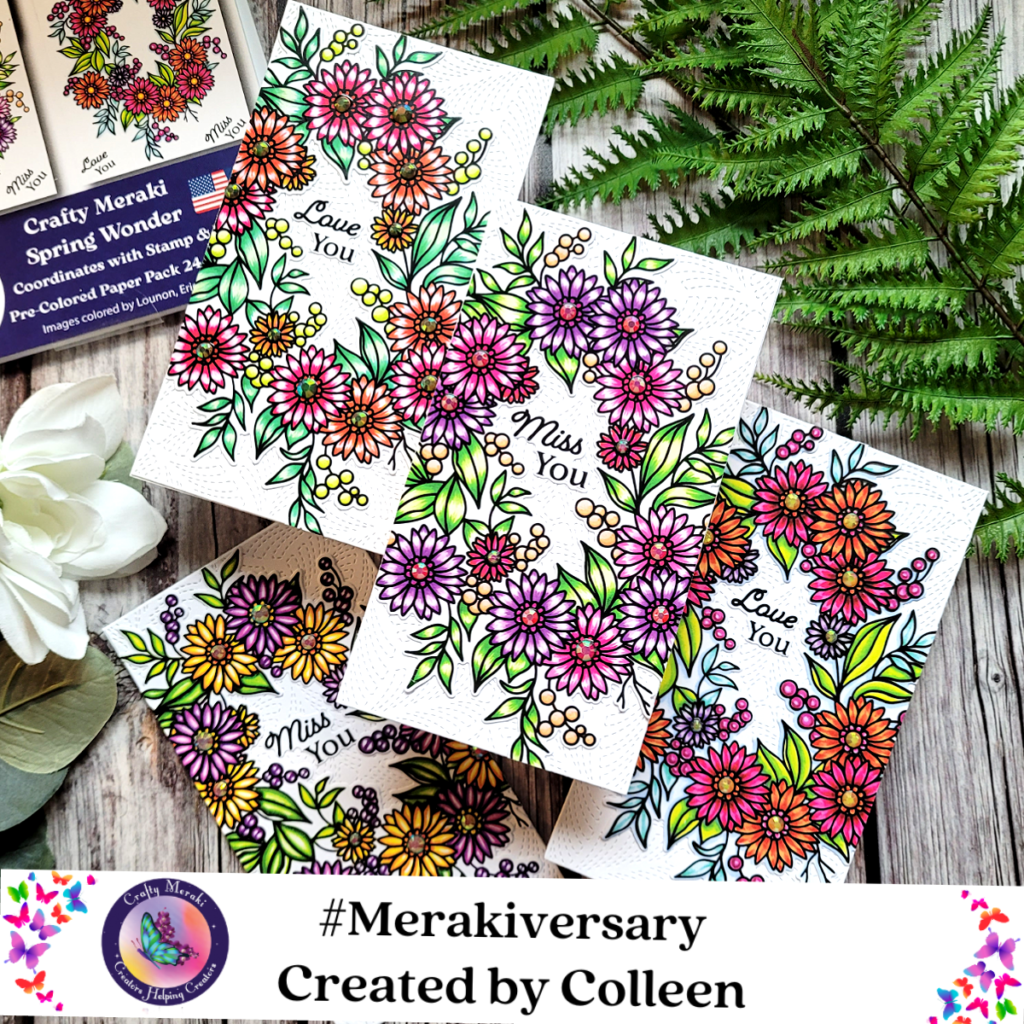
First step was to die cut one of each image from the Spring Wonder EAP Collection using the coordinating die. Next, I prepped the background panel by adding texture using the Mini Dance with Me para-die. You can see in the photo below the subtle white texture on my card from the die’s design!
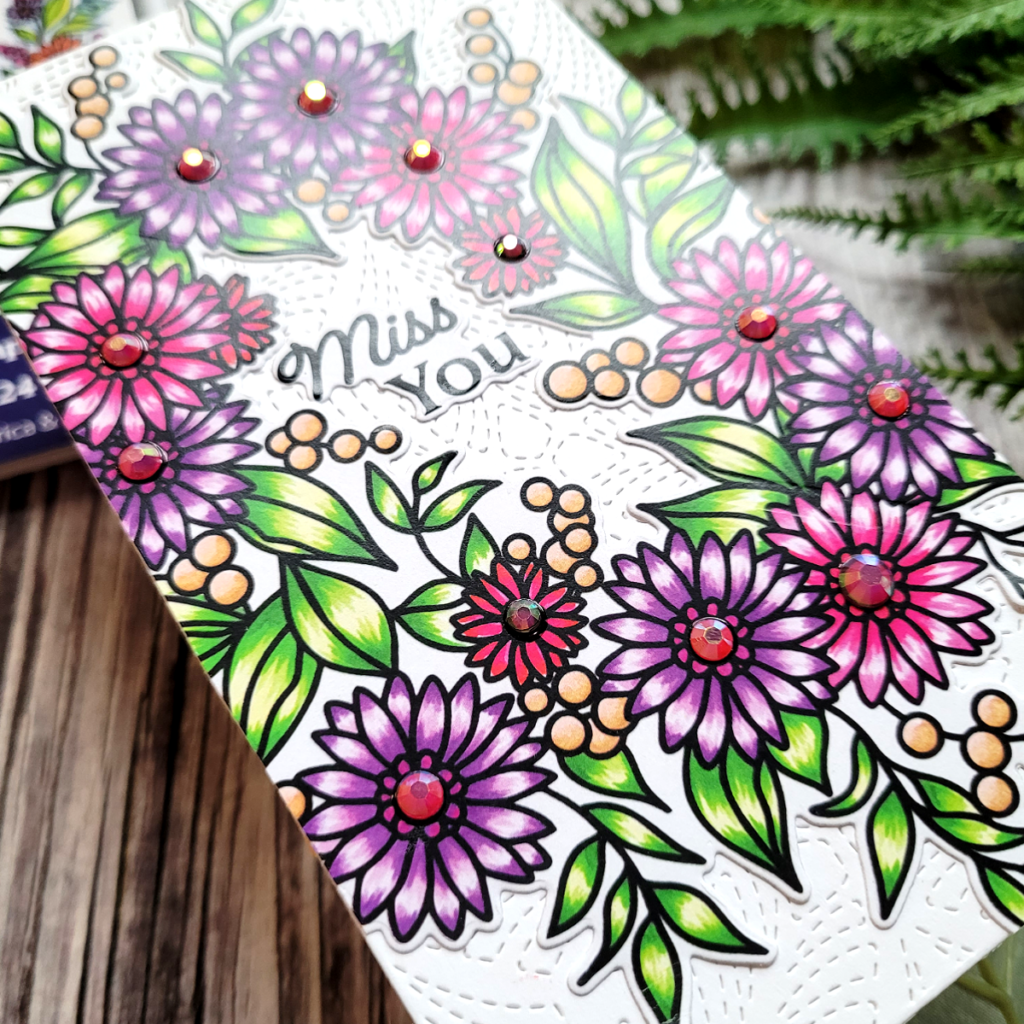
Once each card panel was die cut with the Mini Dance with Me para-die, I centered and adhered each pre-colored Spring Wonder floral bouquet over the embossed background card panel and then trimmed the edges that spilled over the card panel (easier to mail!). Then I added my sentiments of choice from the set, which were “Love You” and “Miss You”. I also created coordinating envelopes and stamped the Spring Wonder floral image from the coordinating stamp set onto the envelope!
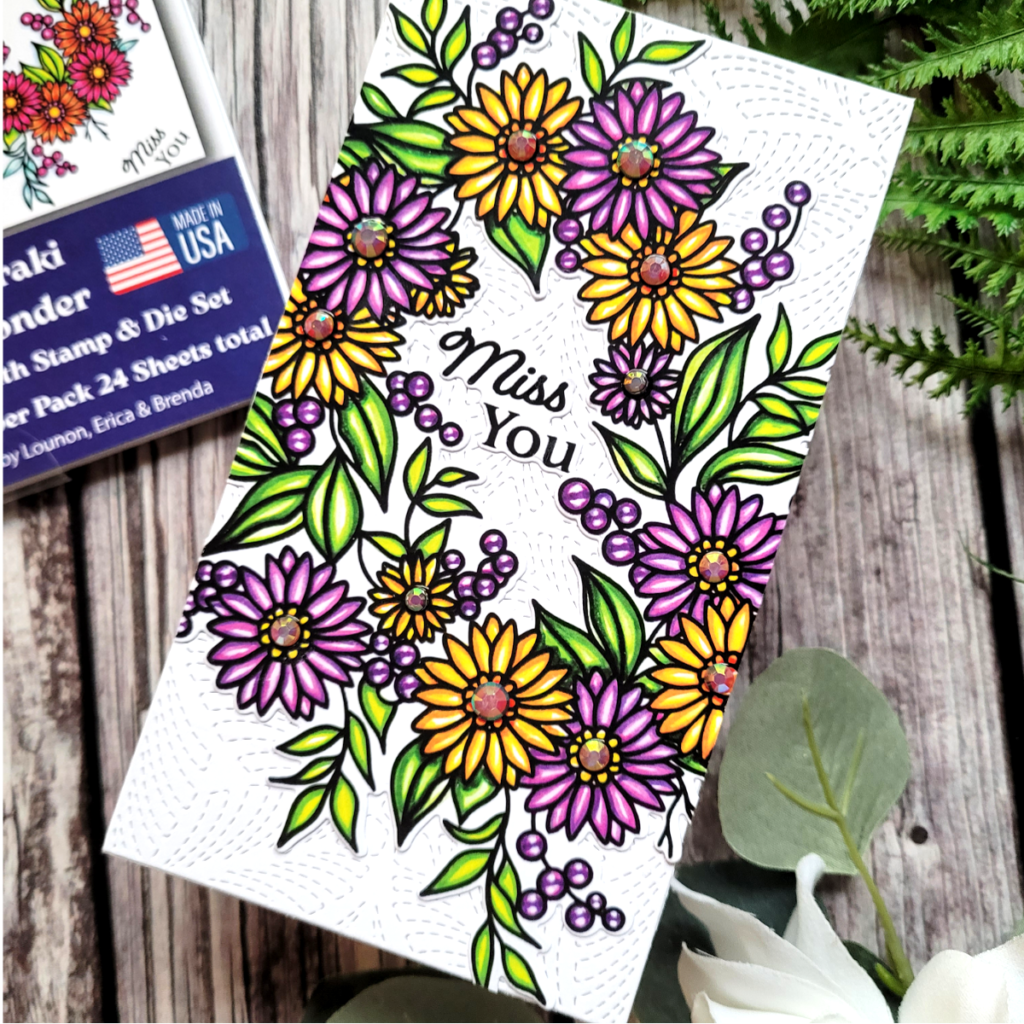
Above is one of the 4 shades from the Spring Wonder EAP set, and below are the 3 other color combos in the collection!
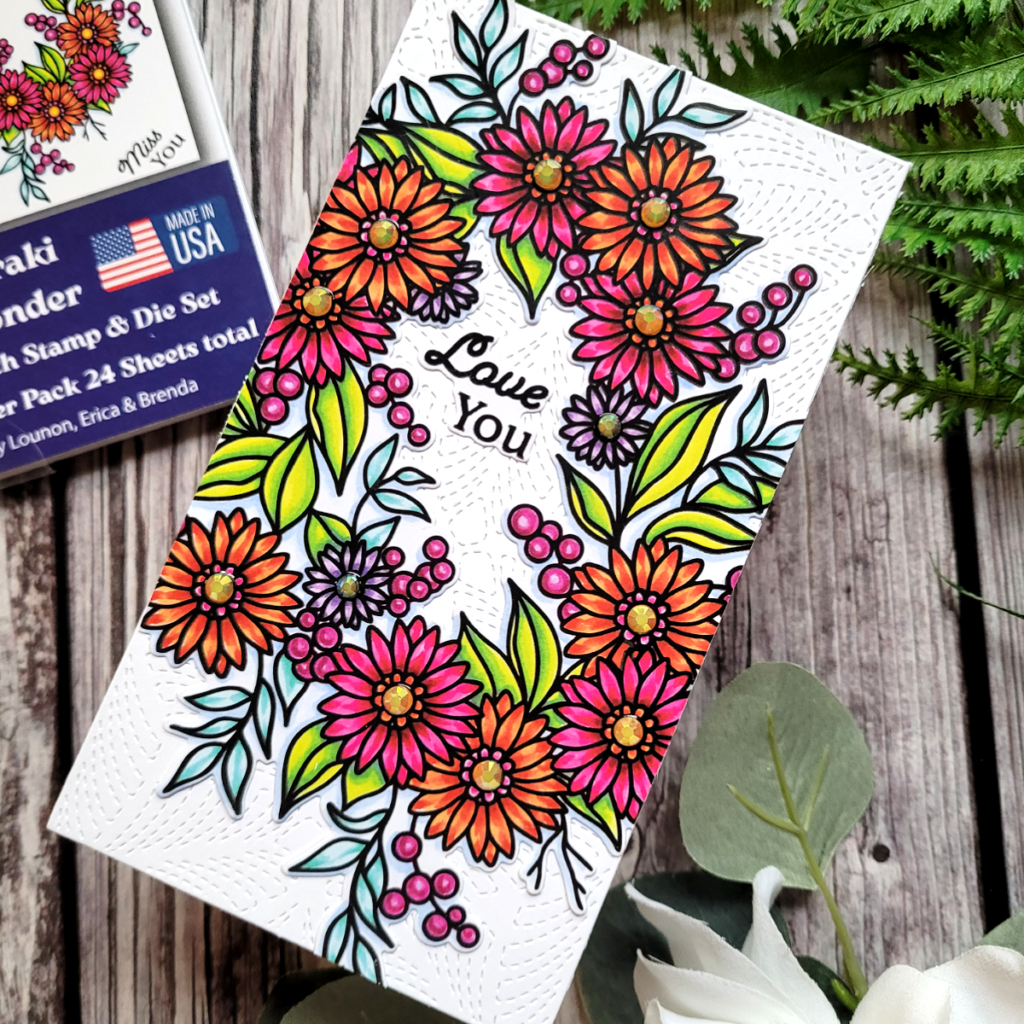
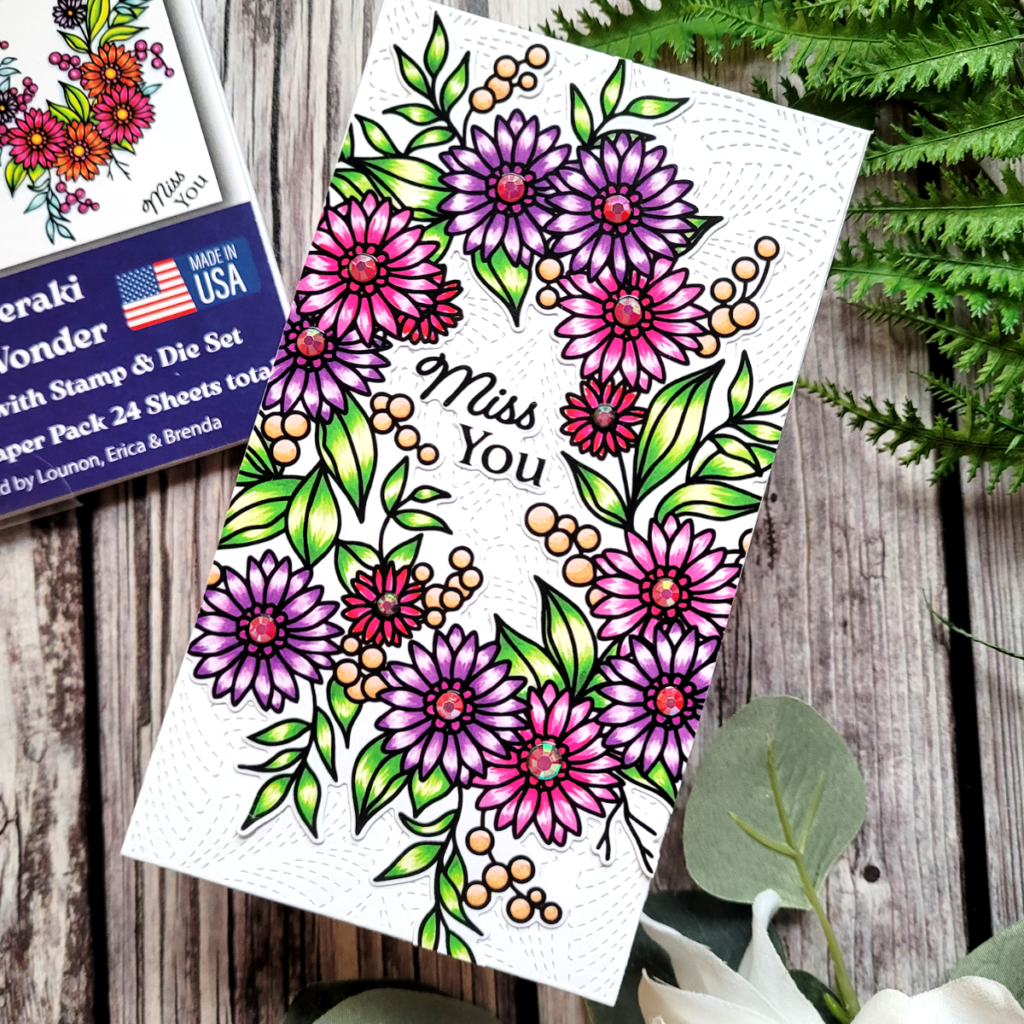
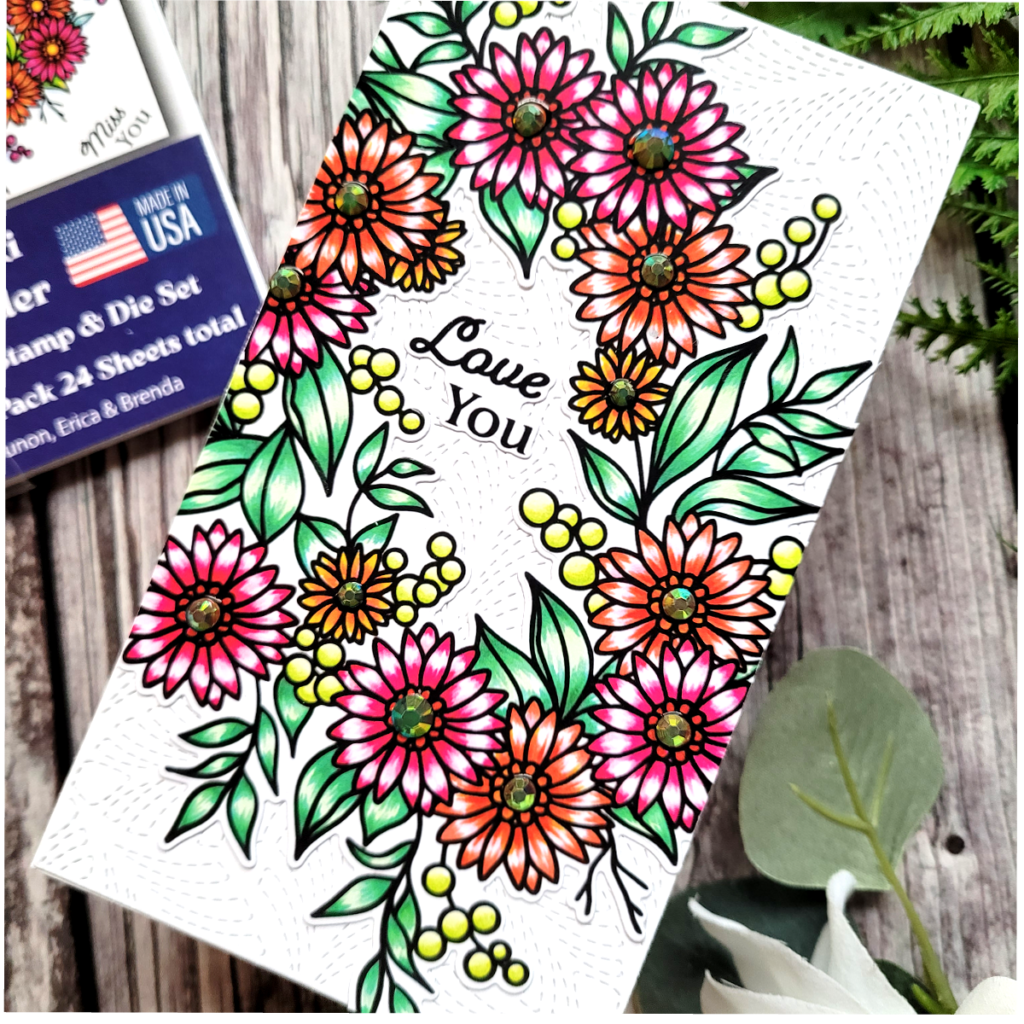
Aren’t they beautifully colored? One option to jazz these card panels up is to place the coordinating stamp over the pre-colored designed and heat emboss it in gold or silver! Evan black would add shine and texture!
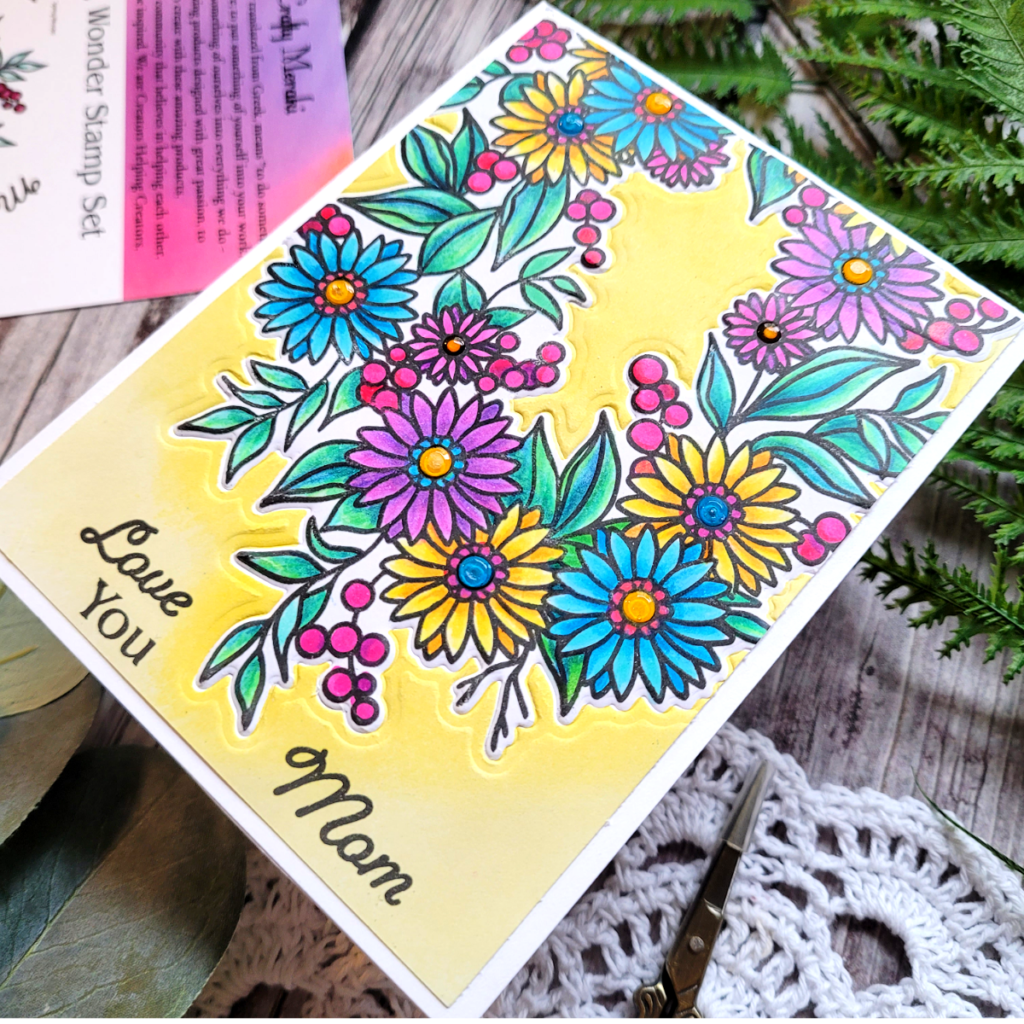
Next up is a card I made using the stamp and die set from Spring Wonder! This is good for those of you that love to color your designs like I do!
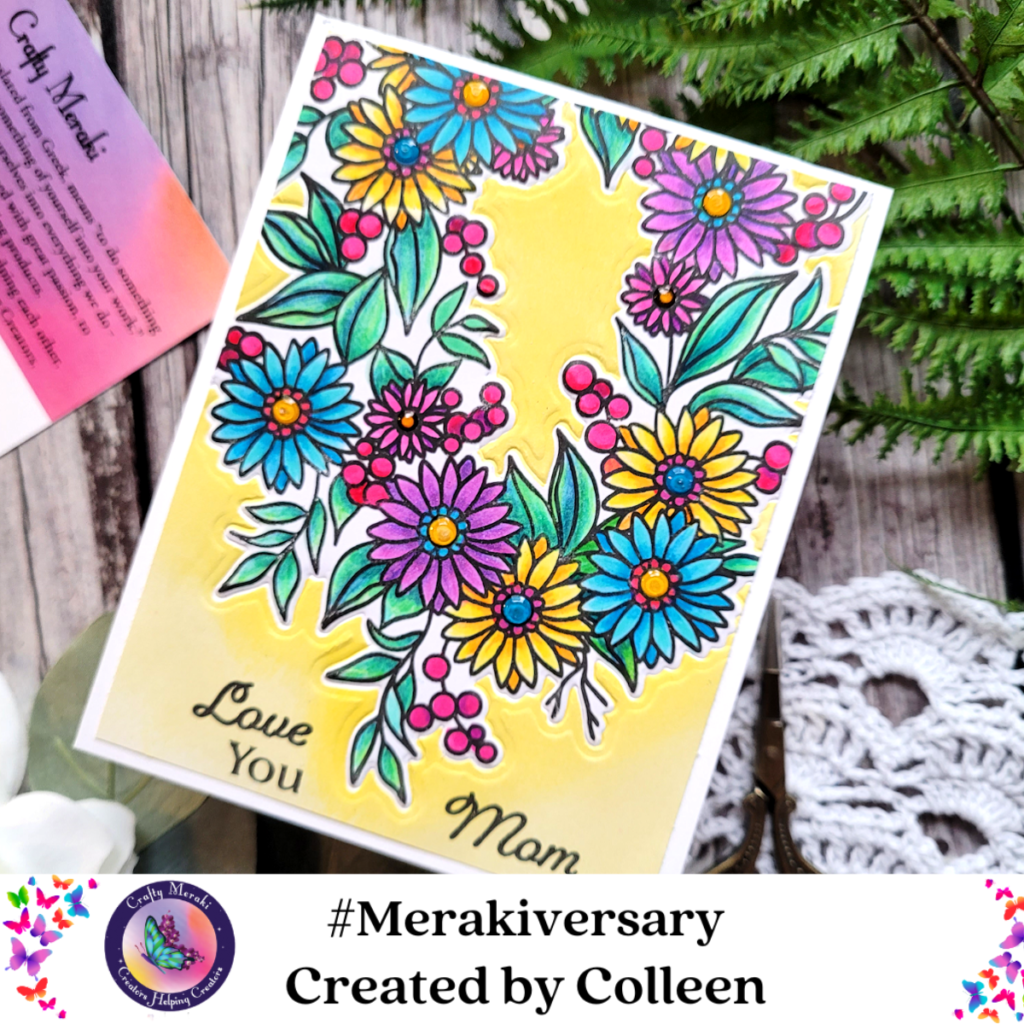
First, I stamped 3/4 of the floral image onto a white card panel using permanent black ink. Then I colored the flowers using both Copic markers and colored pencil.
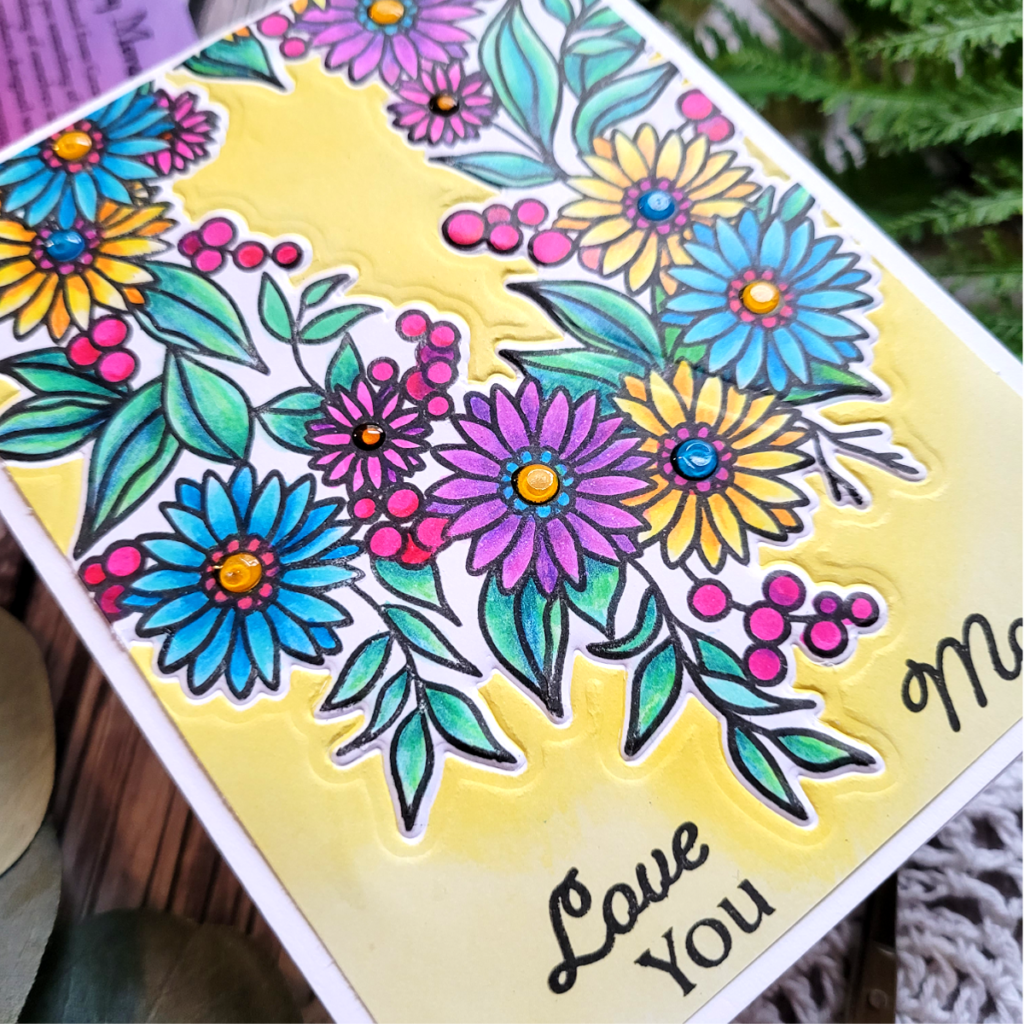
Next, I created a mask to protect the flowers using the coordinating die, because I planned to ink blend over the flowers. You can see in the photo above the yellow ink blending!
Lastly, I placed the coordinating die over the floral bouquet and ran it through my die cut machine using the embossing plate. The embossing plate allows a die cut to emboss an image rather than cut all the way through (see the brand recommendations on how to do this with your die cut machine). Can you see in the photo above the outline from the embossed image? That adds another element of detail that brings your card to the next level!
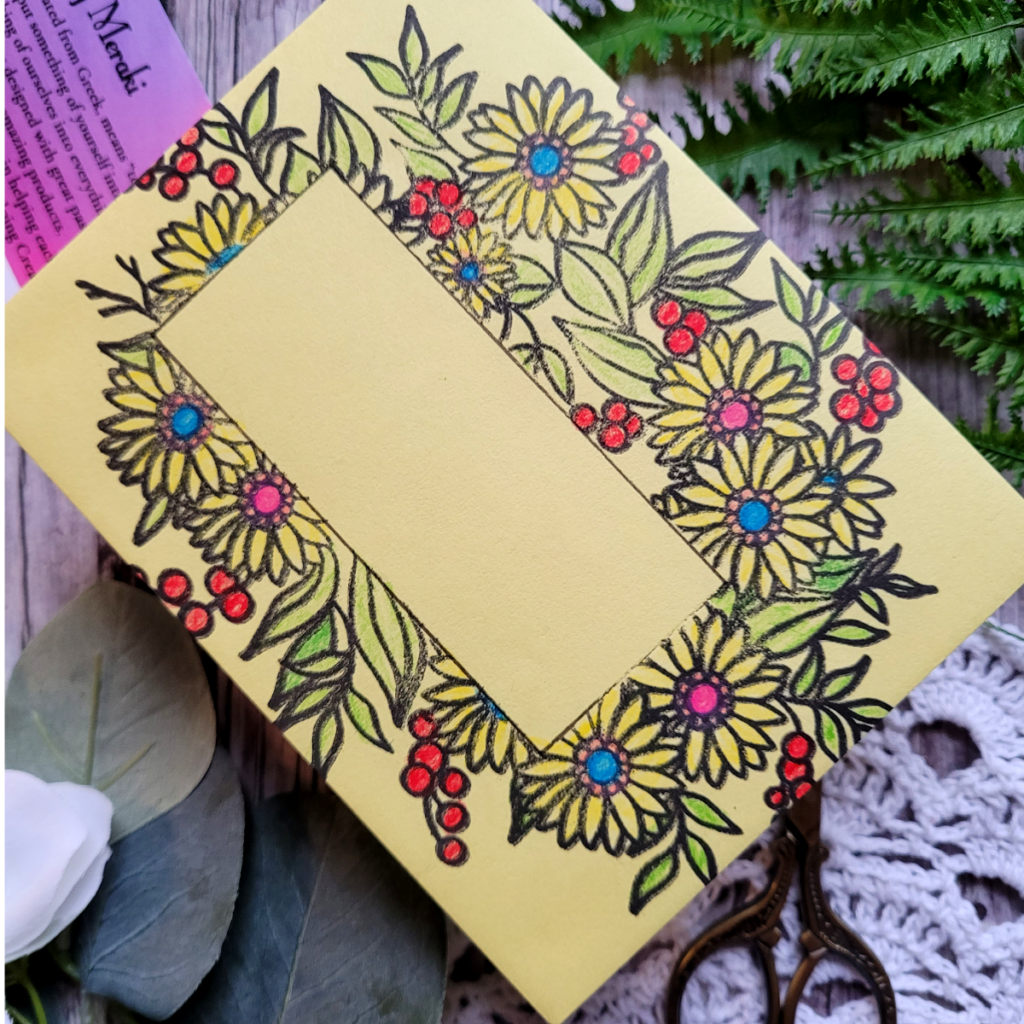
Finally, I decided to decorate the envelope using the stamp! I generally don’t take this extra step, but I should do it more often because it’s fun! I simply used two small post-it notes to cover the center of the envelope (for writing addresses), stamped the image onto the envelope, and then colored it. Then I created a frame around the open space in the center of the flower with a black permanent pen.
I’m so glad you joined me today for the Crafty Meraki 3rd Birthday Celebration Release and Instagram Hop! To visit the hop, click here to start at the beginning (there are a few hops going on each day this week, so visit them all to increase your chances of winning a giveaway!)