Hi friends!
Does mixed media sound attractive to you, but also a little intimidating? It was for me because of the plethora of products used on one piece! I had no idea how to break it all down and make it cohesive! But I found that if you keep it simple, it takes the anxiety out of it and you can just enjoy the process! Today I’m going to share 3 tricks for a great mixed media card! I’ll be using NEW Gina K Designs products from her January release! If you want to shop the entire release, click here. Let’s get started!
My first card uses the new Hoppily Yours stamp set that comes with a coordinating die set (sold separately). We’ll also be using a 6×6 background stamp called I Love You. Below you can see a pic of these lovely sets!
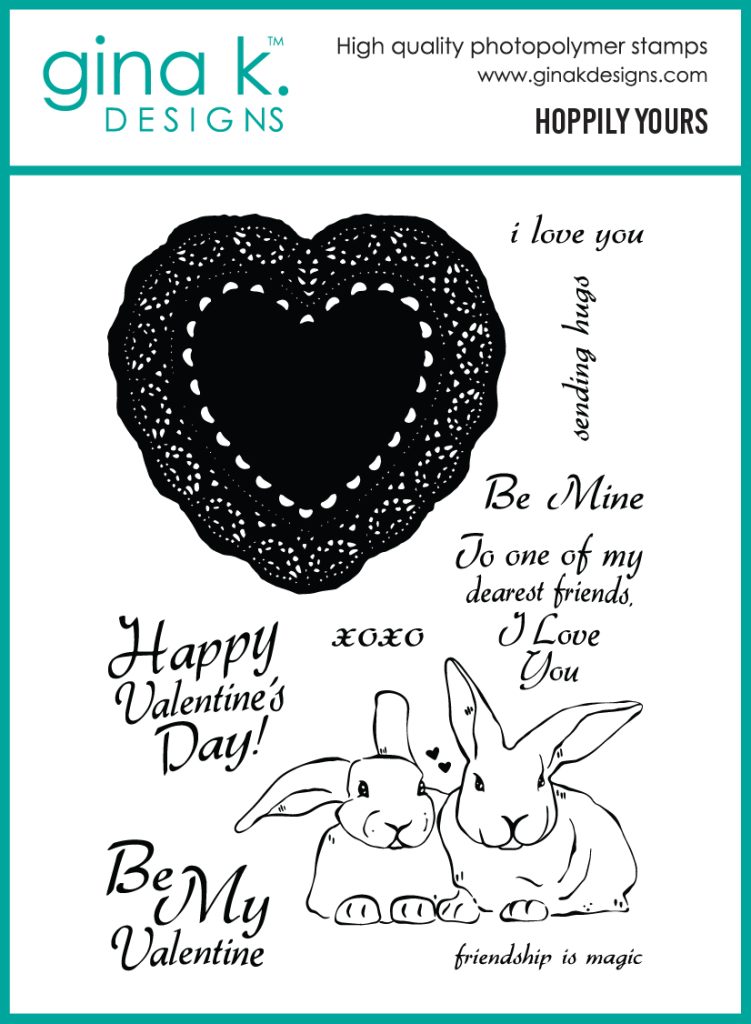
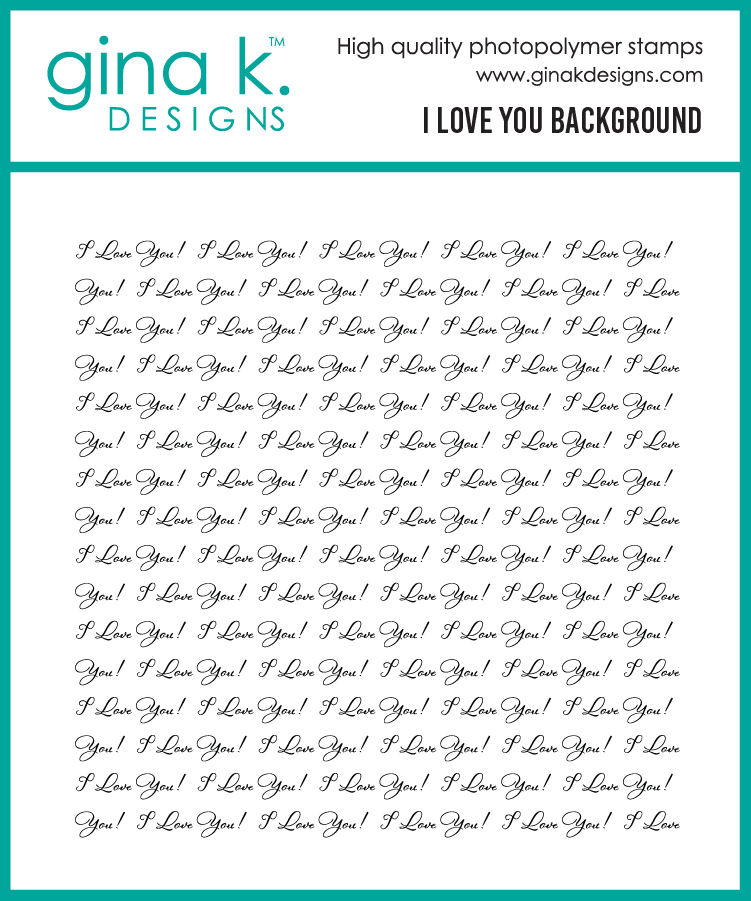
The 3 tricks we’ll be using for my card are: 1) emboss resist technique, 2) ink blending and splattering, and 3) layering with 3 various media items.
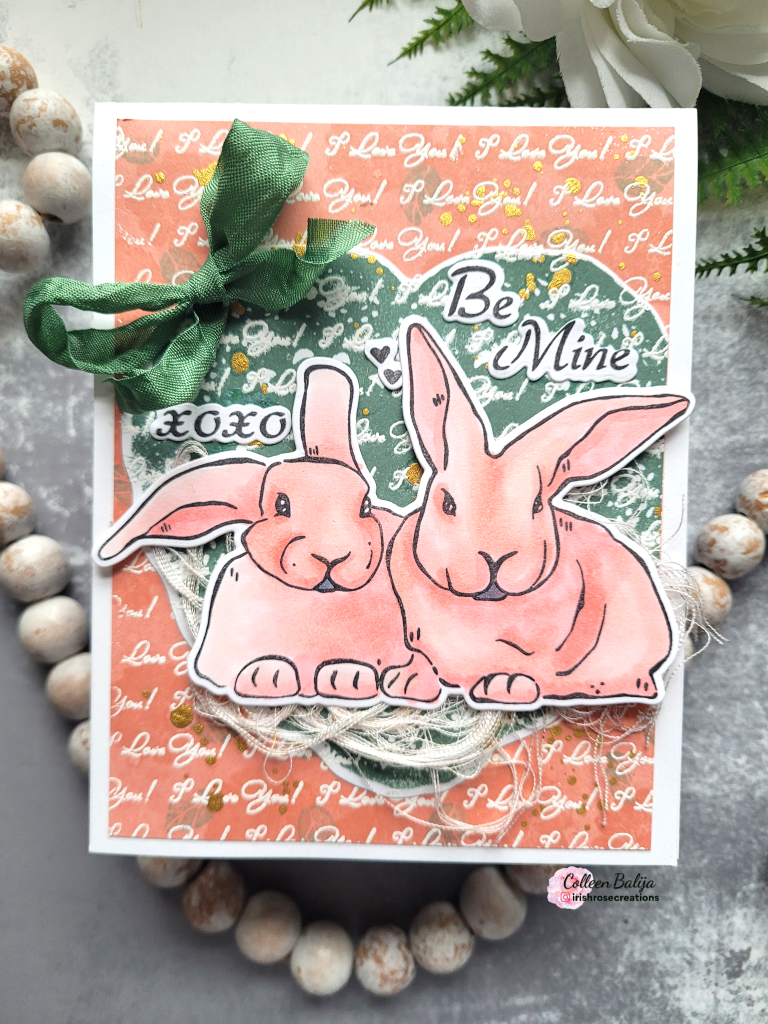
This may not look like a mixed media card, but it is! See, you don’t need to use 5,000 pieces of media to have a mixed media card! Let’s focus on the 3 that I mentioned above and how I used them on my card!
- Emboss resist technique – this is a great mixed media foundation! I stamped the I Love You background onto white cardstock using a sticky embossing pad and then applied white embossing powder over it. I dried it with my heat tool. You can find these supplies at Gina’s store or your favorite shop! I did this technique two times!
- Ink blending and splattering – this technique goes GREAT with the emboss resist! You need inks that react to water, and Gina’s line of inks do a great job of reacting to water! Her line of inks can be found here. I applied ink via ink blending with my blending brushes (found here) onto both sheets of embossed panels – one was blended with Peach Bellini and the other with Medium Spruce. Once the ink blending was done, I took a dry cloth to wipe the ink off the embossed image (the embossing resists the ink!). Then I took my spray water bottle and splattered both large and small circles of water over the ink blended images. Don’t get the entire image wet, though! I took a paper towel and placed it over the water splatters and removed the ink. Now we have lovely card panels with embossing, inking, and water splatters! Look at a closer view in the photo below to see steps #1 and #2!
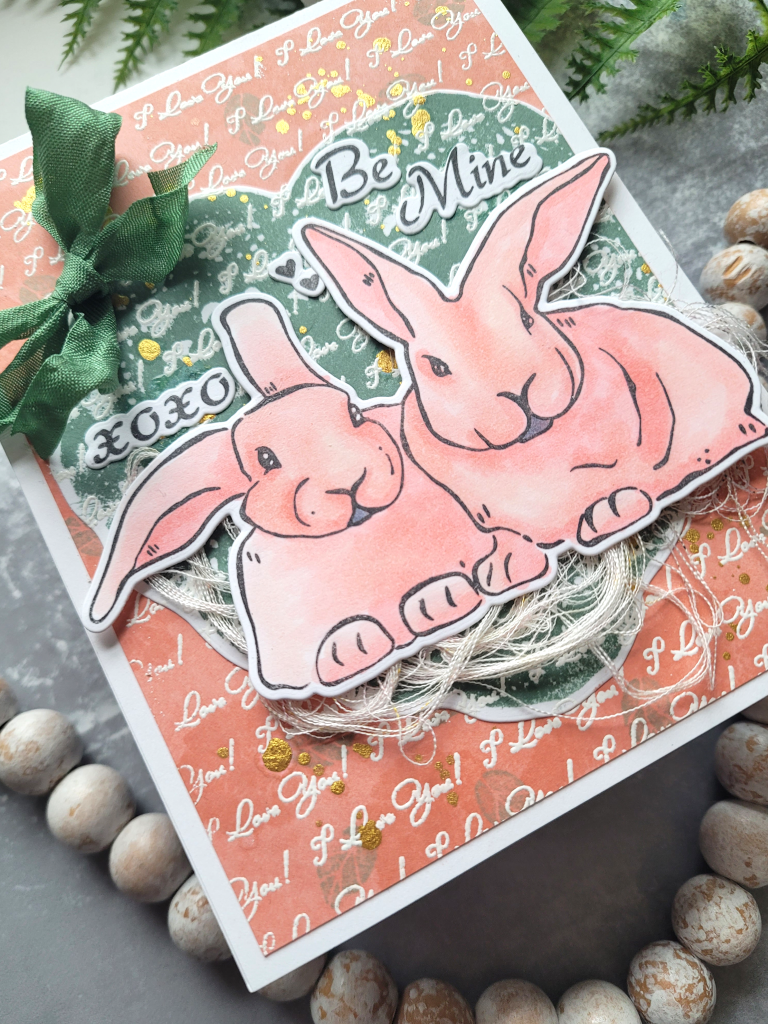
3) Layering with mixed media items – I took the spruce card panel and used the heart shaped die from the Hoppily Yours set to die cut a heart. I placed the heart over the background peach panel and then added gold splatters over it. The splattering is yet another technique that is popular in mixed media! I also grabbed a floral stamp set from a previous Gina K release and stamped the tiny florals over the background panel using the Spruce ink, just for added detail (but you could skip this step).
I stamped and colored the bunnies from Hoppily Yours, die cut them, and placed them over the spruce heart with thread tucked beneath them so it looks like they are sitting on something! I also added a spruce ribbon to the upper corner of the heart.
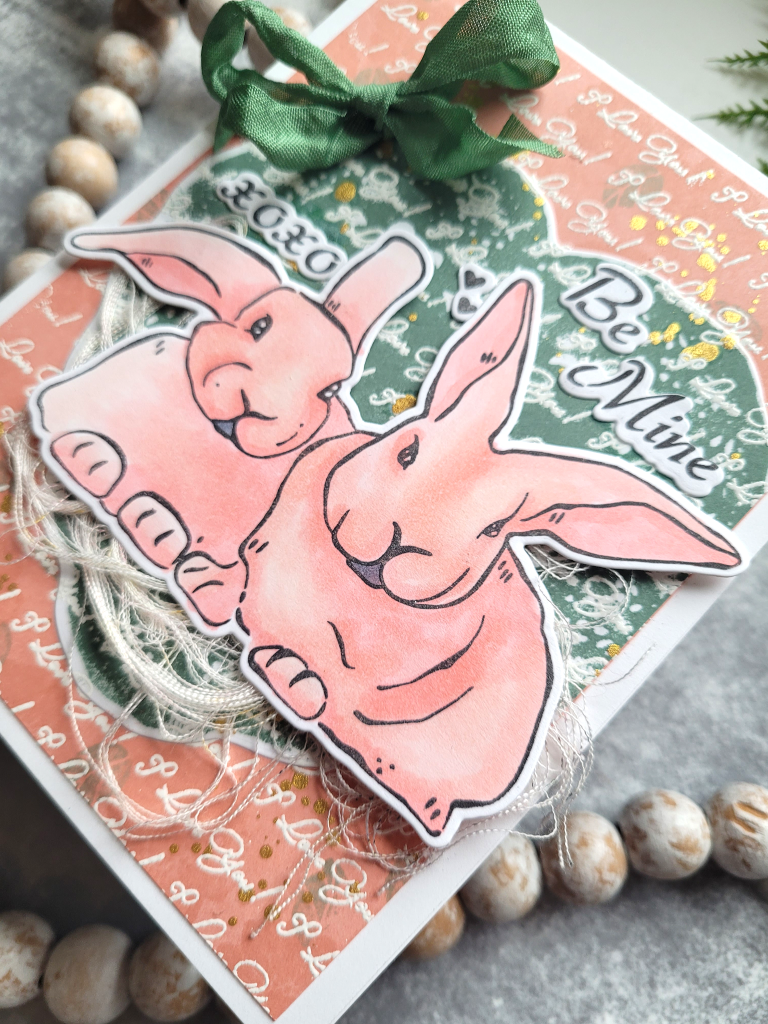
That was it for this card, 3 simple steps and you’ve got a mixed media piece! Try pulling out your supplies and see what you can create using these steps!
Below is one more card that I made using the new release items.
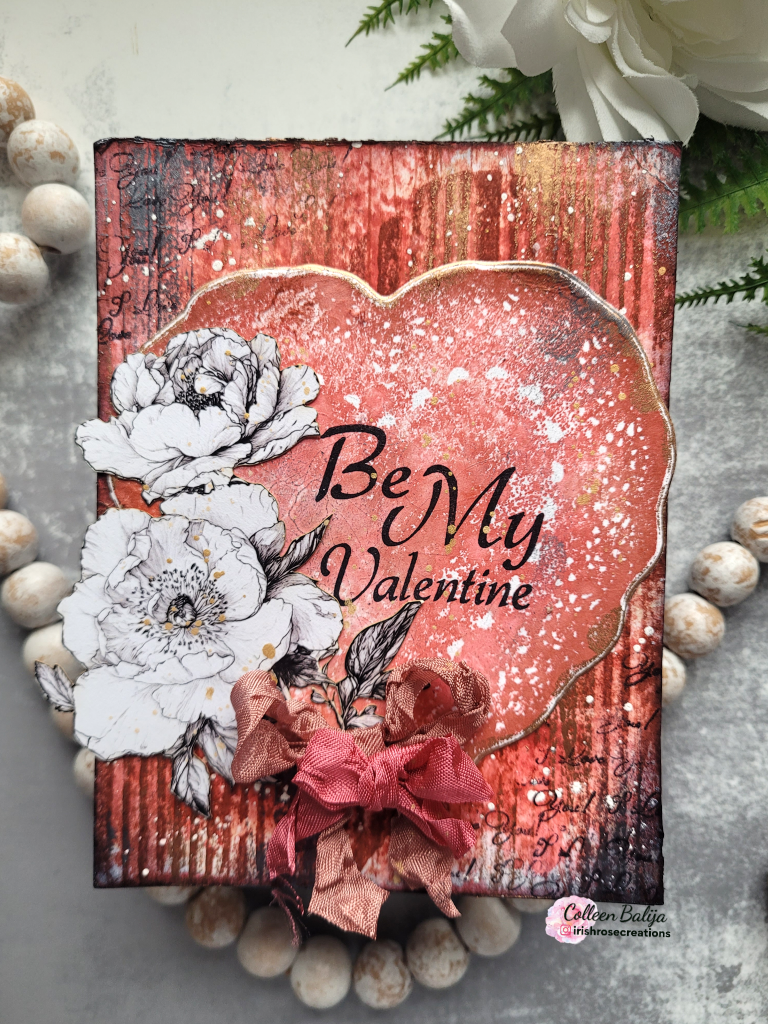
This card is a bit grungier looking, but it was quite easy to achieve this look! The background was created by applying various shades of red ink to a watercolor card panel and then added the water splatters as mentioned in the first card. I used my scoring board and bone folder and scored as much as I could along the length of the colored-up card panel. Now the card panel looks like it has been dry embossed with an embossing folder! I went back over the panel and applied more color over the raised areas and then blended around the edges with black ink and black paste. I went over the entire card panel with black and gold paste as well, applying it randomly with my finger!
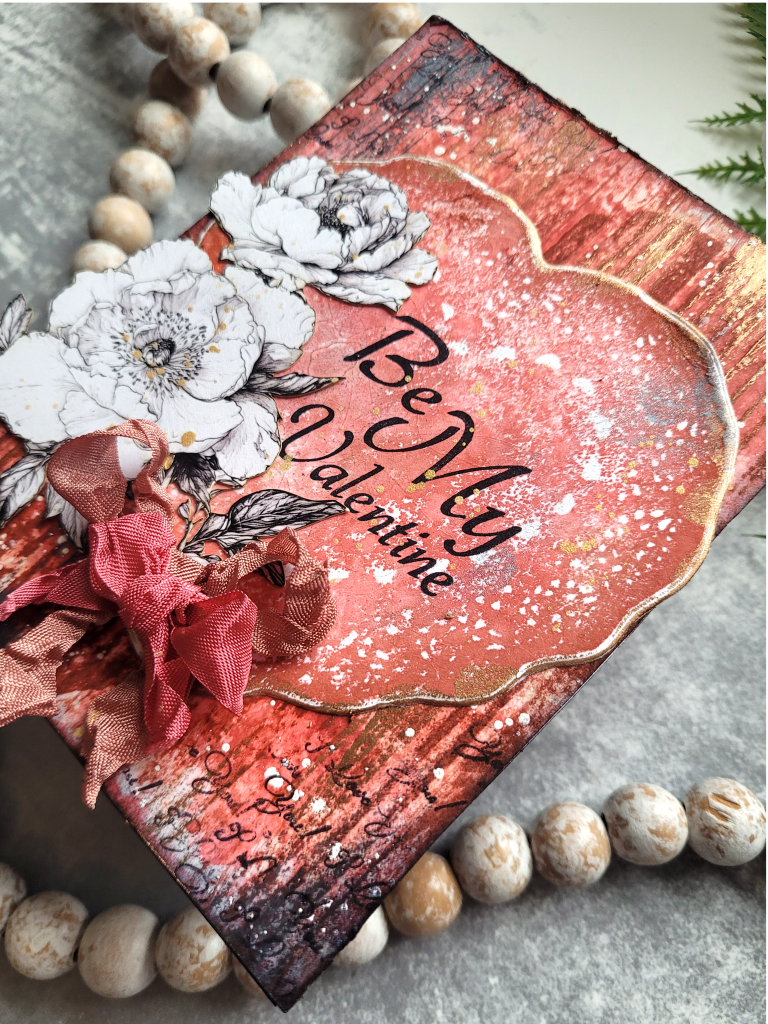
For the heart, I stamped the heart image onto white cardstock using Faded Brick and Cherry Red inks. Prior to stamping the image, I sprayed the ink with water and then stamped. You can see in the photo below the cool effect you get – VERY mixed media’ish! If you stamped directly onto the card panel, you’d get a detailed image. Either way works!
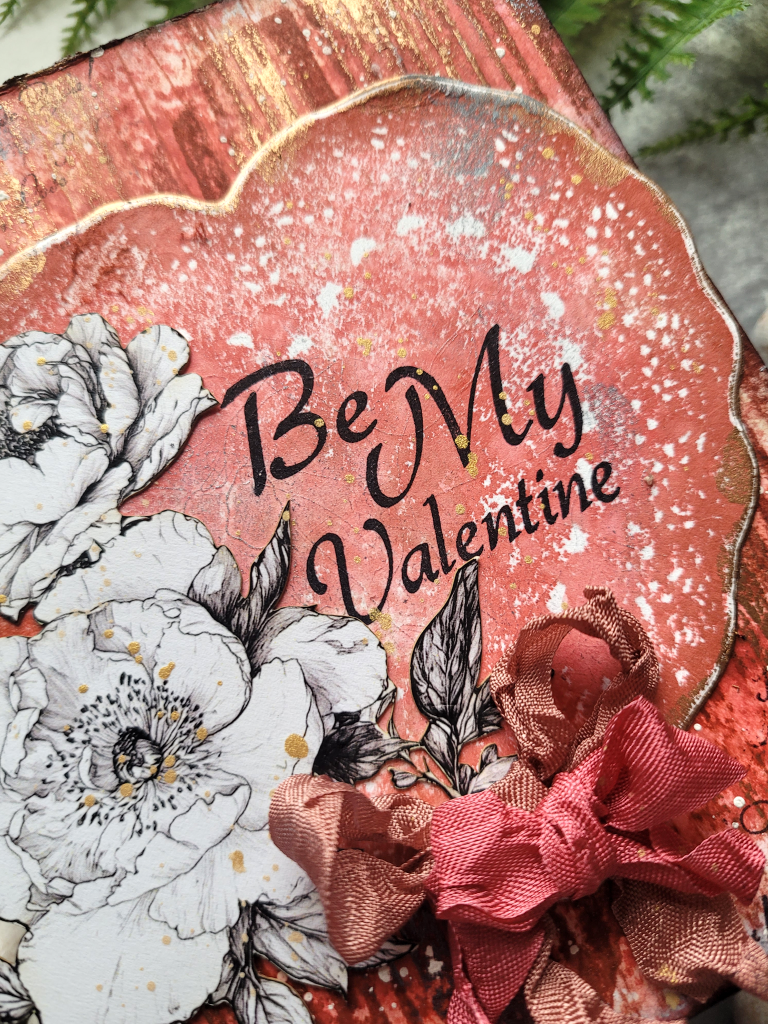
I finished with the layering touches mentioned earlier. Stamped the Be My Valentine sentiment over the heart, added a black & white floral ephemera piece to the side of the sentiment, and 2 ribbons beneath it. I also added gold paste and splatters for that final effect!
I’m so glad you joined me today, and I’m so excited for you to get out your supplies and give this a try – you will be ADDICTED in no time!