Hi friends!
As part of the Altenew Marvelous Monthly Series January release, I want to share a couple of cards from the release with you! The release is filled with lovely design elements that will be perfect for Valentine’s Day, a wedding, or just a note of love to someone!
My first card uses Dainty Hearts Hot Foil plate and coordinating stencil, Dear Heart die, One-Go loving sentiments stamp, and the Pansy Craft-A-Flower.
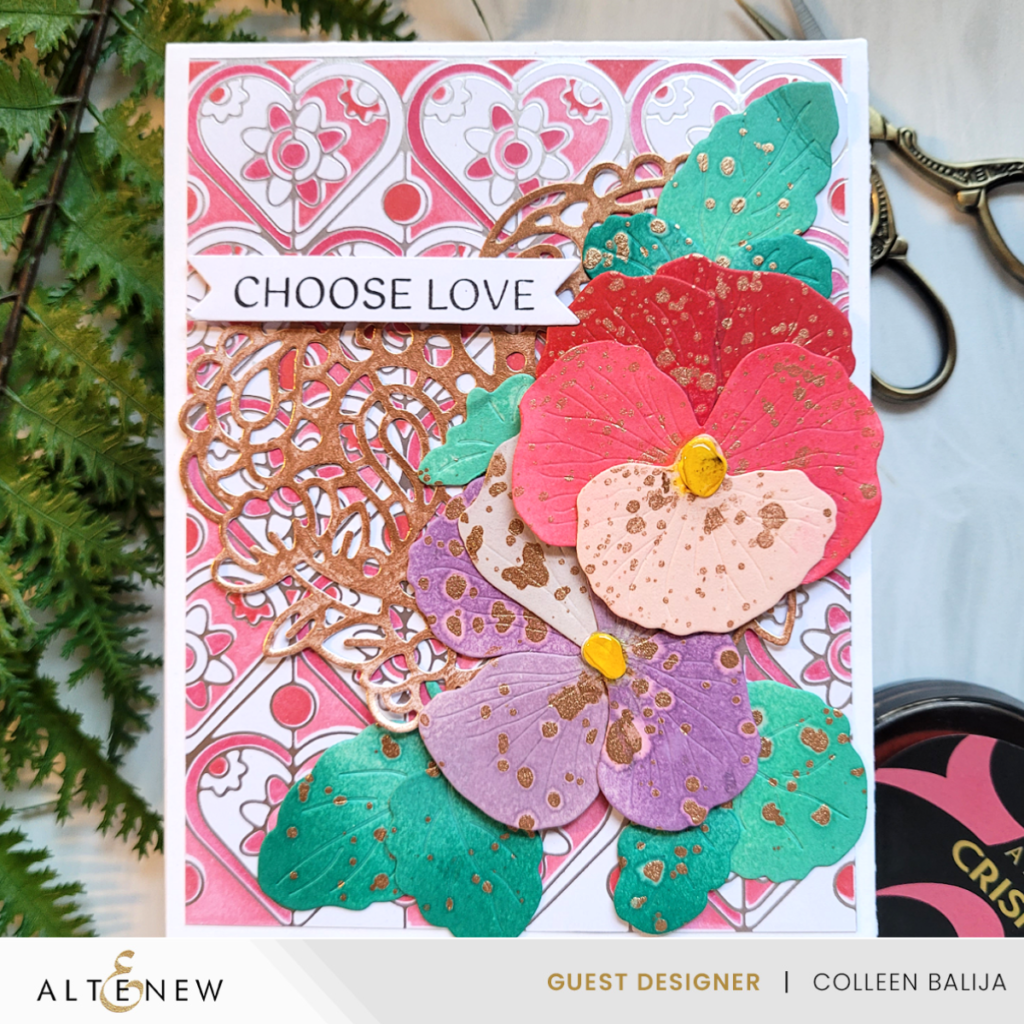
First, I chose my colors for the card in shades of pink. Next, I created a background using Dainty Hearts Hot foil plate and coordinating stencils. I hot foiled the design onto white cardstock using gold foil, and then ink blended in shades of pink using the coordinating stencil. This makes for such a lovely background, and it’s so beautiful that you could just use it as your focal point and finish with a sentiment!
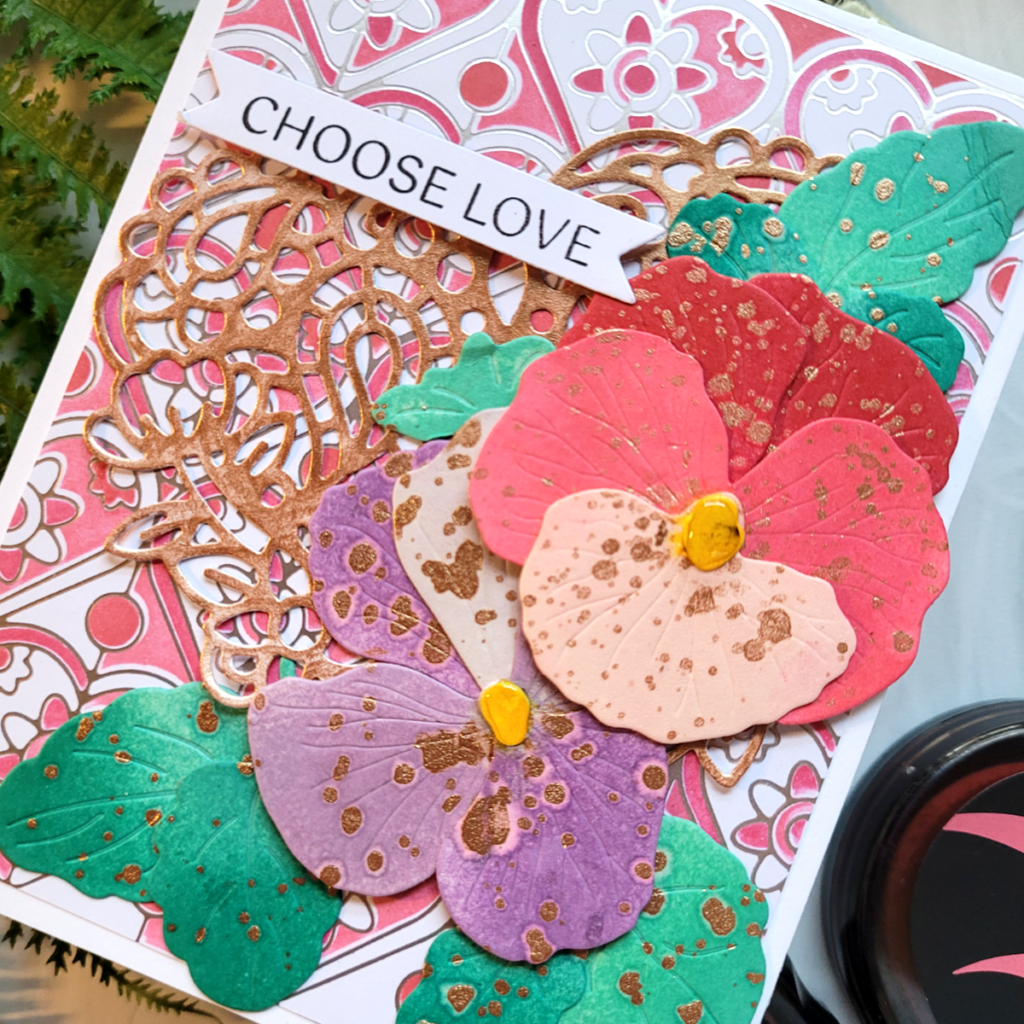
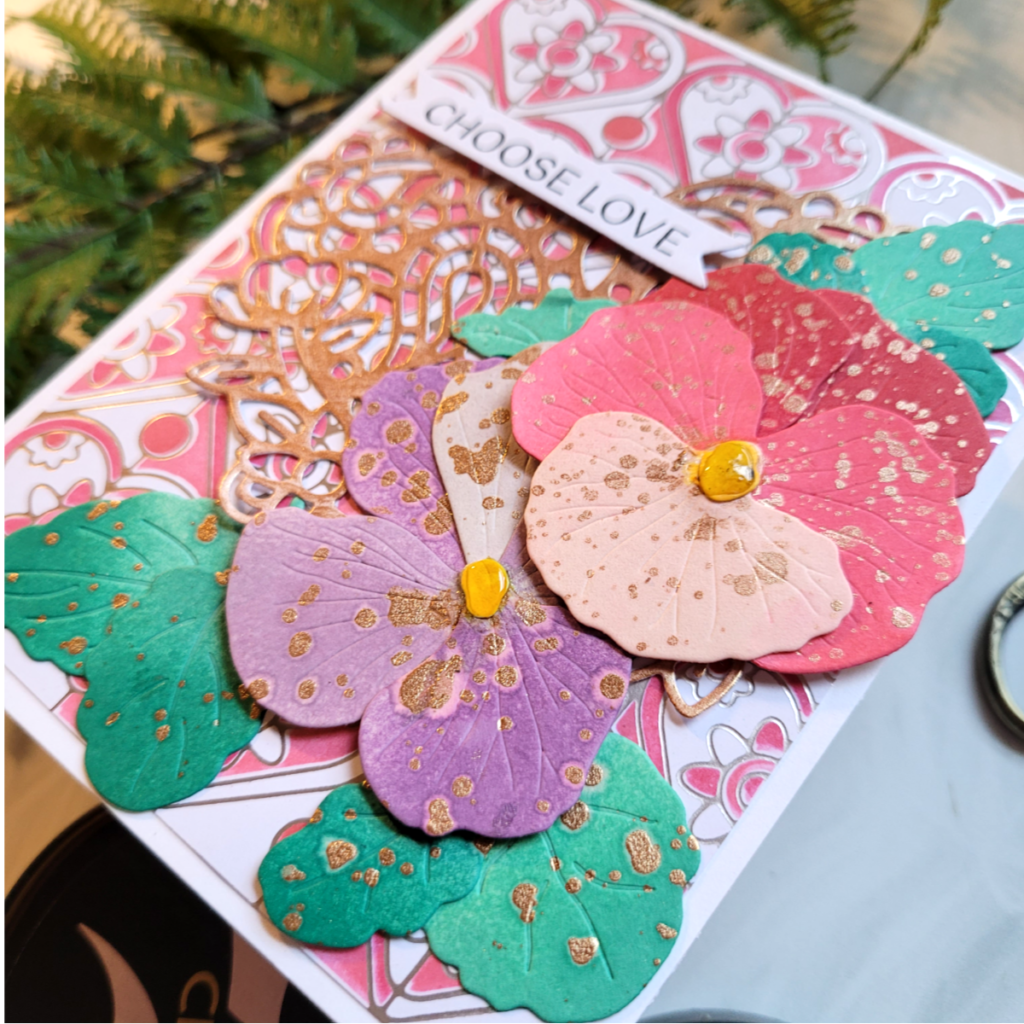
When the background was finished, I focused on the Craft-A-Flower January release, which is Pansies! I believe that Pansies are one of the first flowers that bloom in spring, so this is the perfect flower for this time of year! I die cut each of the layers and then inked them up in shades of pink, purple and green for the leaves. If you look closely in the photo above, you can see the embossed detail in the flowers! Then I splattered gold metallic ink over the flowers and leaves to coordinate with the gold background.
I also die cut the lovely Dear Heart die and heat embossed it in gold powder. I tucked the heart die behind the pansies so that it was peeking through, and then adhered the pansies and leaves over it. I finished with a sentiment from the One-Go Loving sentiments stamp!
The next 2 cards use Playful Watercolor layering stencils and One-Go Loving sentiments! I’ve got two techniques here to show you a few ways to use these stencils and get a totally different look!
Card 1 is a basic clean and simple stenciling technique that can be done quickly if you’re in a hurry but want a beautiful card! And you can stencil these flowers in a variety of colors to get a unique look each time!
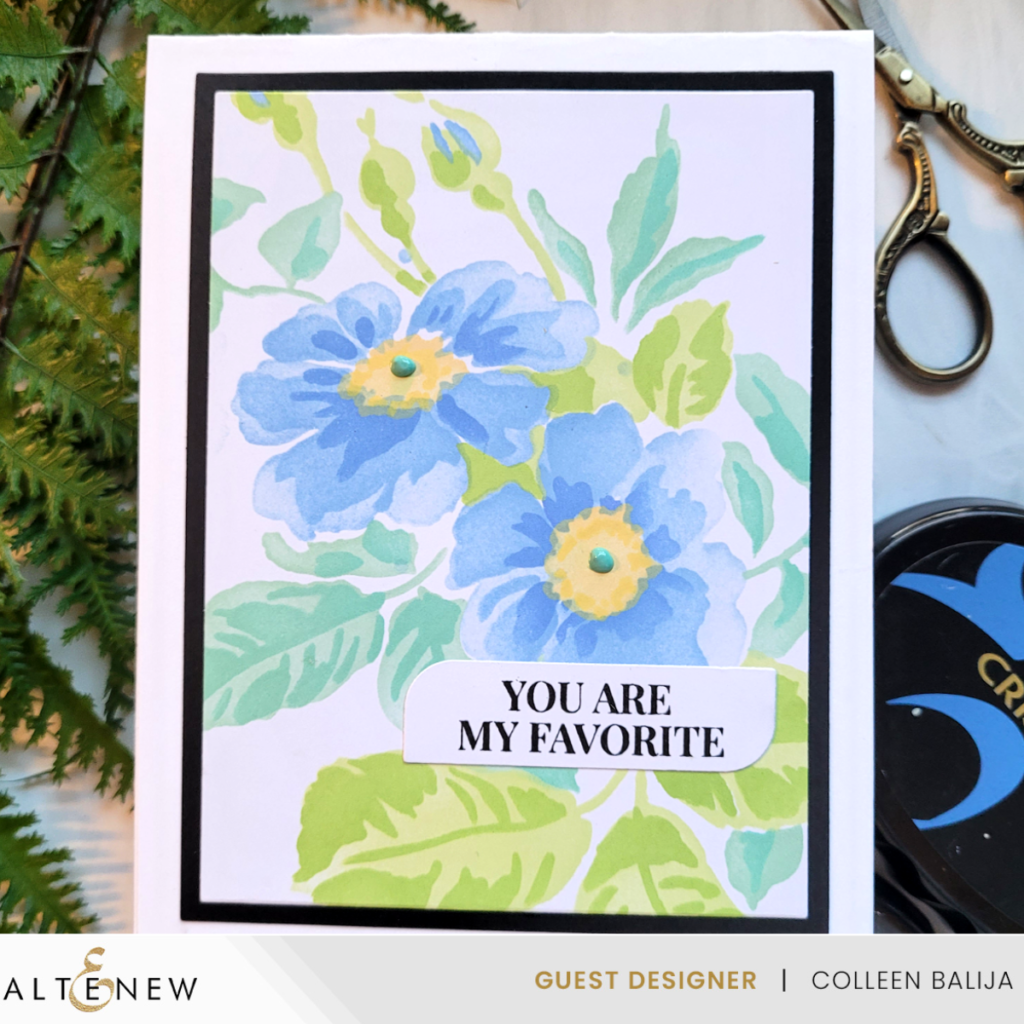
Using pastel shades of blue, yellow, green and teal, I inked through the stencils using my mini blending brush by Altenew. I love the size of this blending brush because it keeps the ink where I want it! I can be a messy stenciler (is that a word?), so the mini ink blending brushes help alot for small areas!
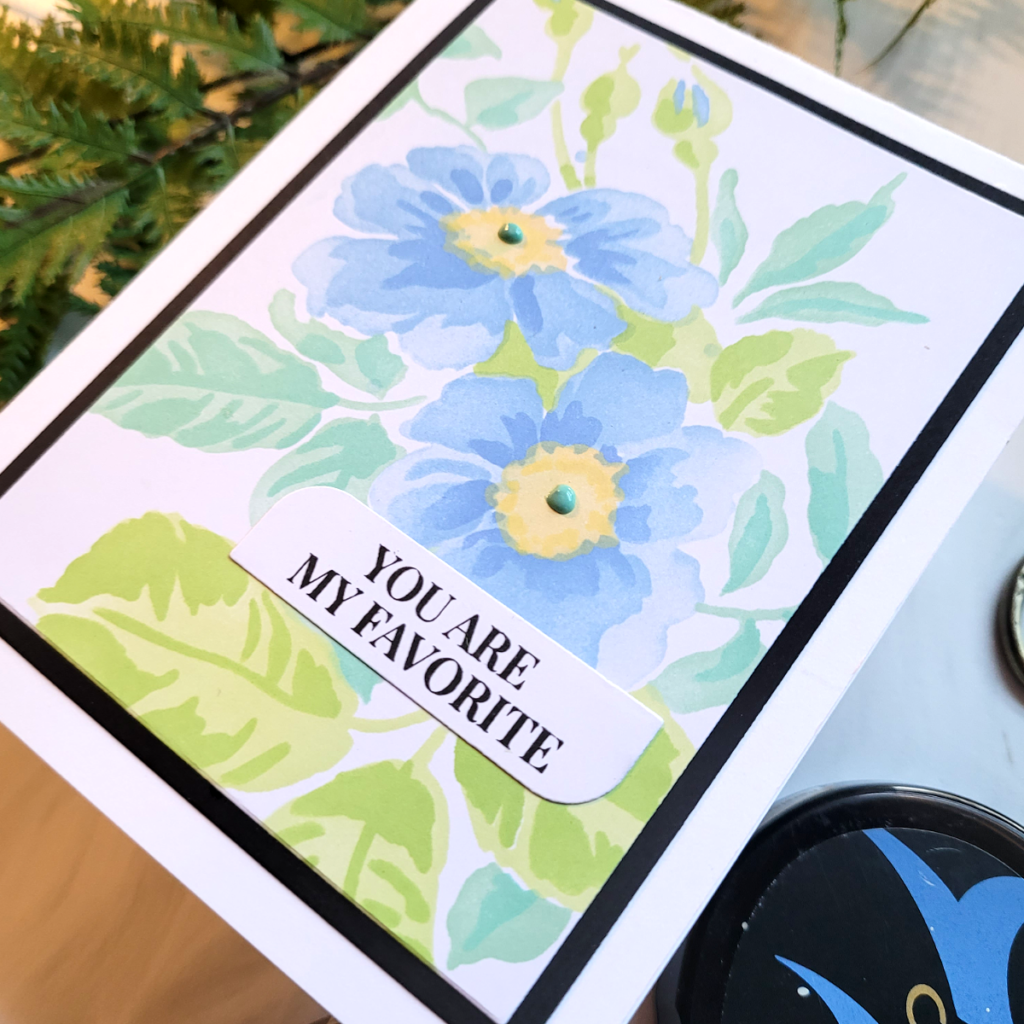
When the stenciling was finished, I trimmed the card panel down and placed it over a slightly larger black panel, then adhered both layers over a white 5.5×4.25 card base. I finished with a sentiment and coordinating die from the One-Go Loving sentiments set. I love how unique the shape of the sentiment die is, don’t you?
My 2nd card steps it up a notch by adding clear embossing powder over the flowers and then inking up the background. Here’s how I did it!
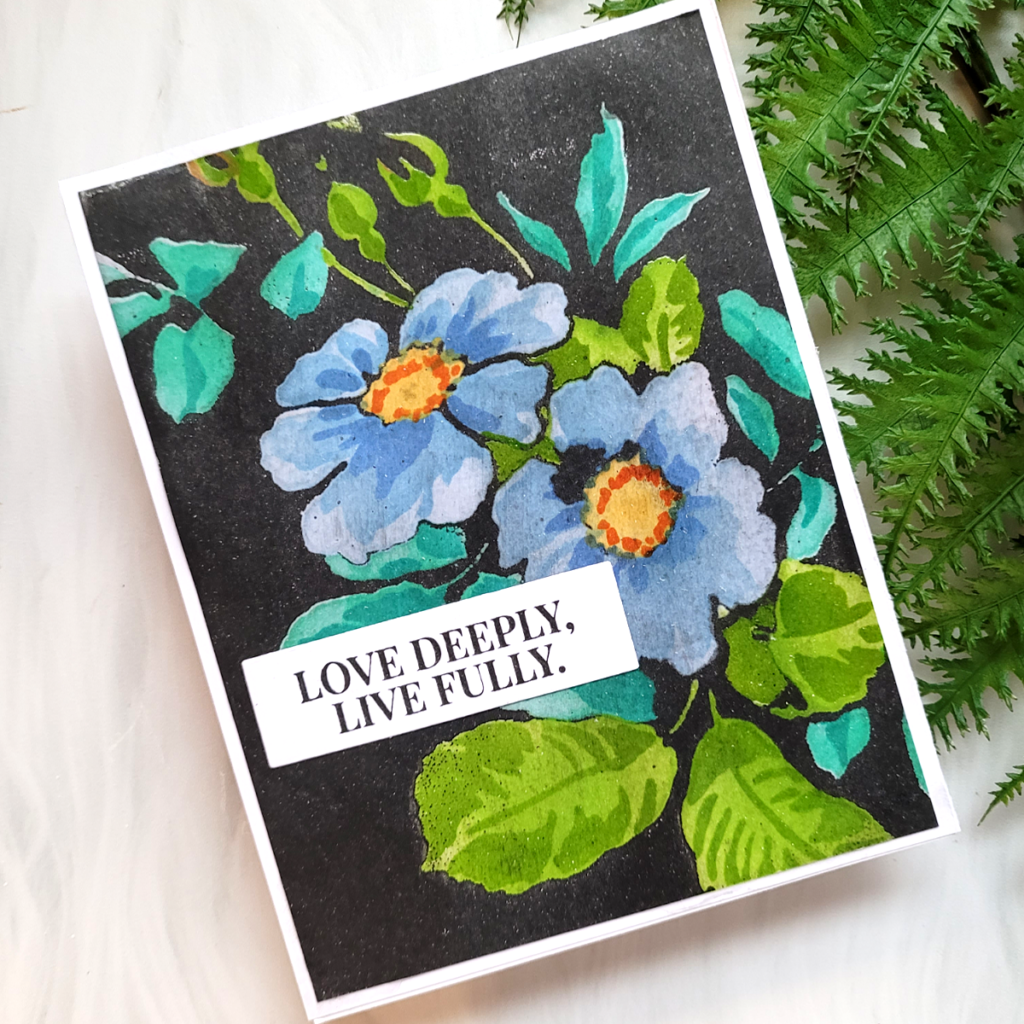
First step was to ink up the flowers in similar shades of ink as with card 1. Only this time, after each layer was stenciled, I added clear embossing powder over it. Eventually all the layers were covered with clear embossing powder. This not only enhances the color and adds shine, but it acts as a protective barrier so I could ink blend around it and create a dark background!
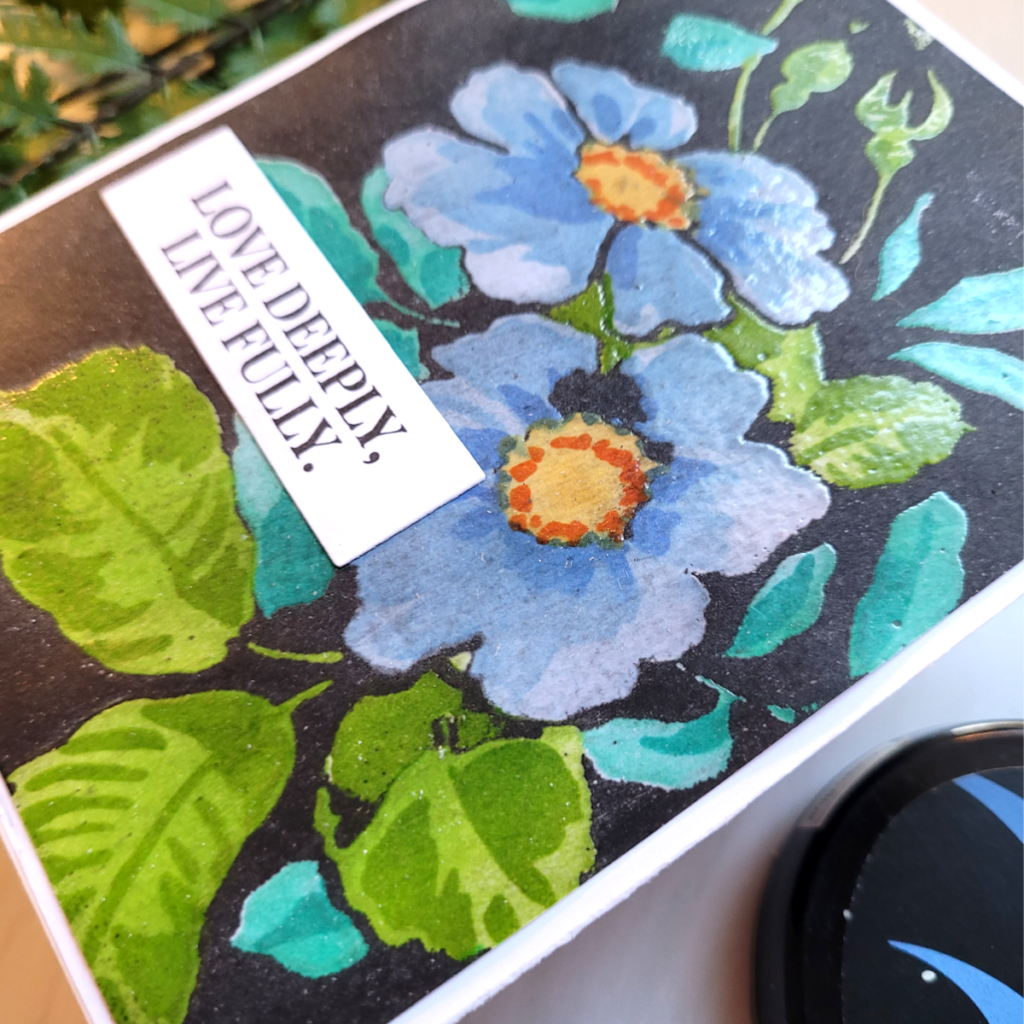
I used black ink and brushed it directly over the entire card panel until all of the white was covered up. Now, here’s where the miracle happens! At first it looks like a hot mess, but when I took a paper towel and wiped over the flowers, the black ink came right off the flowers thanks to the embossing powder, and the flowers popped up from behind the black ink! I love how dramatic this card looks, and the best part is that it’s a one-layer card! I finished with another sentiment from the One-Go Loving sentiments stamp and coordinating die set.
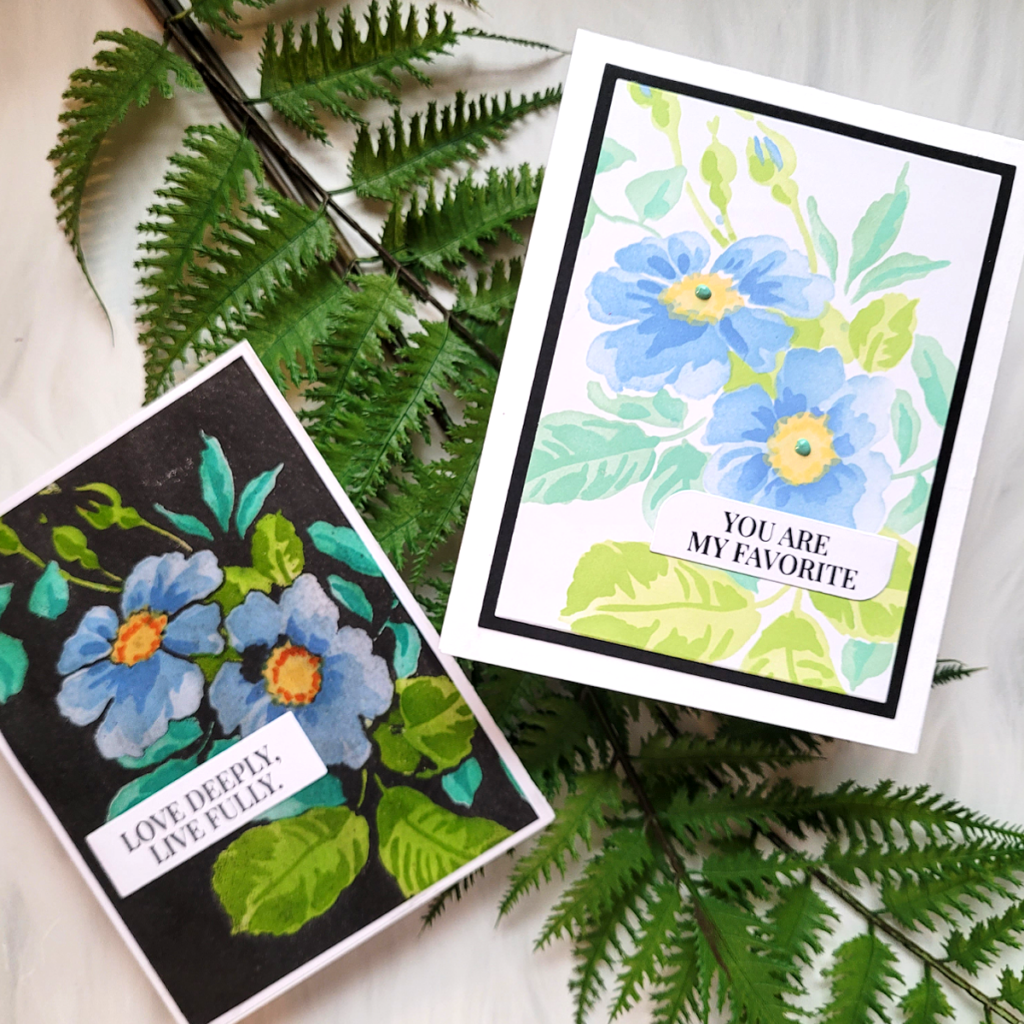
Here is one more look at both cards, side by side!
I’m so glad you stopped by today! You can shop the new release by clicking here!